
These thick and chewy hand-rolled pici pasta are just as satisfying to make as they are to eat. Made simply from flour, water, olive oil, and salt, they require no special equipment or pasta machine! If you’re new to making homemade pasta, this is the recipe for you!

I have such a soft spot for pici, first tasting their slurpable, slightly-doughy texture when I visited Florence in 2018. We entered an elegant restaurant in the city and ordered Pici al Cinghiale (pici with wild boar ragu). The pasta was hearty and chewy, paired with a robust, earthy meat ragu.
During the pandemic, I felt a familiar pang of nostalgia for that dish. But, of course, I couldn’t just get up and travel to Italy, so I decided to do the next best thing: recreate the meal from scratch. Several experiments later, I finalized the recipe and hosted a successful Zoom workshop teaching friends and family to make this rustic shape.
👩🏽🍳 Cook’s Notes
And now, I’m really excited to share this traditional recipe with you. This recipe has been tested and re-tested several times for efficiency and optimal methodology.
Here’s what my recipe tester said:
“The texture was perfectly chewy strands of pasta that the sauce I made it with clung perfectly. It was tasty without being overwhelming, the shape and size was enjoyable. Per suggestion, I made a lamb ragu which paired perfectly. The sauce clung to the pasta perfectly and was really enjoyable as a hearty meal.”
Here’s a few more reasons to give it a go:
- I’ll guide you every step of the way: I know handmade pasta can feel intimidating, but it doesn’t have to be! I make sure to include tons of tips, tricks, and step-by-step instructions with photos so you can focus on enjoying the process with minimal stress.
- It’s so tasty: I’ve consulted multiple cookbooks and online research to ensure the dish is delicious and true to its history.
- They’re worth the effort: At the end of the day, you will have successfully made a gorgeous batch of hand-rolled pasta, impressive enough for a solo date night, a family gathering, or a dinner party.
For more delicious scratch-made pasta recipes, try my homemade orecchiette, malloreddus, or homemade pasta made with a Kitchenaid.
What is Pici?
Originating in Siena, Tuscany, Pici (or pinci), is a long hand-rolled pasta shape. You may also hear it referred to as ‘Pici Toscani’ or ‘Pici Senesi.’ Historically, the shape is likely quite ancient, and some sources trace it to the Etruscans1.
Usually, they’re made with flour, water, and olive oil, though some modern versions include eggs. Pici look like thick spaghetti, typically about the thickness of a pencil2. Unlike homemade pasta made with a machine, they often have varying lengths (emphasizing their rustic, imperfect nature).
PS – Browse my collection of delicious traditional pasta recipes!
Ingredient Notes

Flour: For this recipe, you’ll need 00 flour and semolina flour for dusting. Almost all traditional methods for handmade versions call for 00 (or a strong white bread flour). This flour contributes to a soft, smooth dough.
For a chewy, slightly doughy texture, use 100% 00 flour. If you want more of a bite, I recommend a 50/50 ratio of durum wheat semolina or semola rimacinata flour to 00 flour. Both versions require the same amount of water, so you can play around and experiment!
Water: Like many eggless pasta doughs, this one calls for a 2:1 ratio (in weight) of flour to water. Depending on the humidity of your hands and the air, you may need a bit more (or less), but this is a very good starting point.
For a full list of ingredients and quantities, refer to the recipe card.
Serving Suggestions
According to the Encyclopedia of Pasta3, pici were sometimes seen as a peasant’s dish, served in a simple sauce of breadcrumbs or garlic.
- Lamb ragu: Wealthier cooks, however, often served them with hearty meat sauces like lamb ragu (a favorite of mine!).
- Cacio e pepe: They’re also popular ‘cacio e pepe’ style or may even with a traditional alfredo sauce?
- All’aglione: Try them all’aglione (tomato sauce with garlic).
- Pesto: I’d also highly recommend my lemon pesto for a creamy, bright pairing.
How to Make This Recipe (Step-by-Step Instructions)

Make the Dough

Step 1 – Form the well: In a large mixing bowl, mix the salt and flour. Form a well in the center of the flour, and add the water and olive oil (Image 1).
Step 2 – Mix: Using a fork, begin incorporating some of the flour into the liquid (Image 2). Continue mixing more and more of the flour into the well, whisking until the liquid in the well starts thickening (Image 3). Once it’s quite thick and pasty, start kneading as you incorporate more of the dry flour (Image 4).

Step 3 – Knead: Knead until it comes together into a rough, shaggy mass, then transfer it to a wooden work surface or countertop (Image 5).
Continue kneading (Image 6) for about 5 – 8 minutes, until the dough feels soft, smooth, and tacky but not sticky.

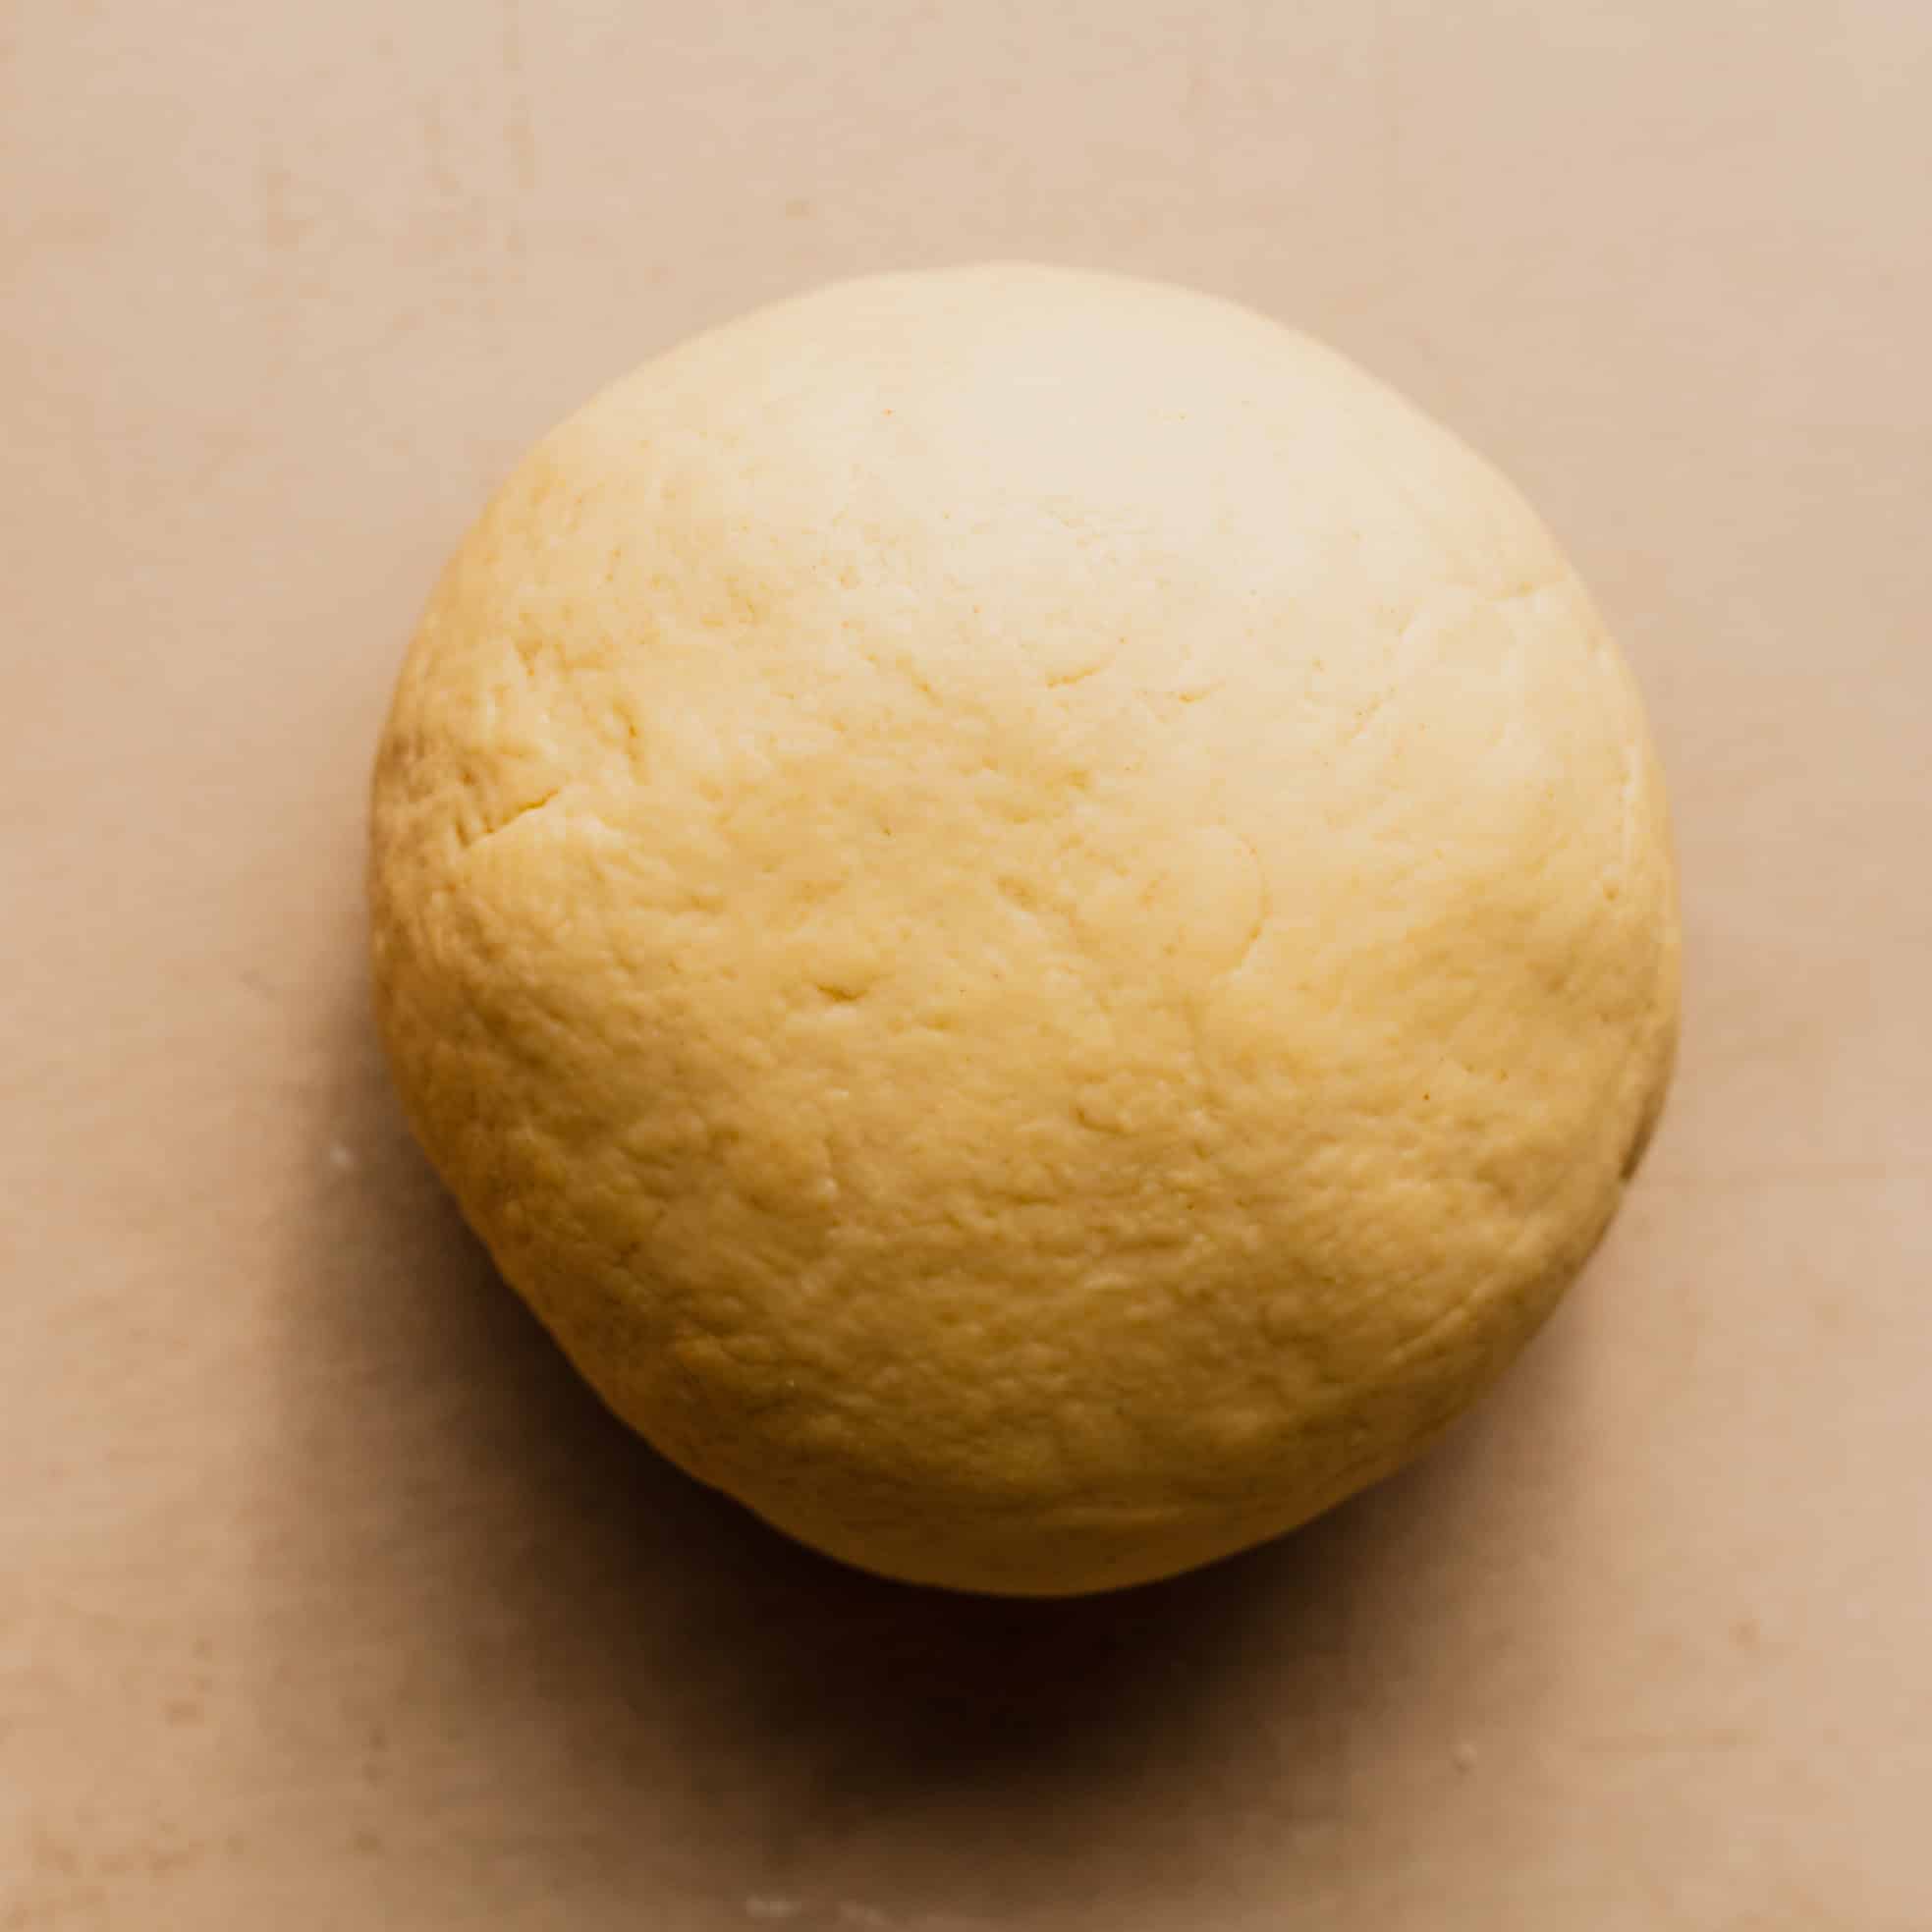
Step 4 – Rest: Wrap tightly in plastic wrap and allow it to rest at room temperature for one hour (up to 2 hours). This resting time will relax the gluten and smooth out the dough further (Image 7 versus Image 8).
Roll the Pici

Step 5 – Slice into pieces: Work with a quarter of the dough at a time (re-wrapping the rest). With a rolling pin, roll out the dough to a thickness of ⅛-inch (~ 5/16 cm) (Image 9).
Use a sharp knife to cut the dough into ¼-inch (.63cm) wide strips (Image 10).
TIP: I find the easiest way to cut the dough into clean strips is to firmly drag the knife from one end to the other (as opposed to slicing).
Step 6 – Roll each strip: To roll the strips, place both hands at opposite ends of the strand and spread your fingers apart. Roll your fingers over the strand in opposing, outward directions to thin out each piece to about ⅛-inch (~ 5/16 cm) to 3/16-inch (~½ cm) thickness (Image 11). You’ll want the resulting thickness to be slightly thinner than a pencil, like spaghetti.
Finally, roll the ends of the strand between your palms to create a rounded tip (Image 12).
Step 7 – Store: Coat each strand in semolina flour, then transfer to a semolina-dusted baking sheet. Repeat with the remaining dough.
Step 8 – Cook: To cook the pici, bring a large pot of salted water to a boil. Boil the pasta for 2 – 4 minutes, or until they’ve cooked through but still retain a slight al dente bite. Drain and serve with your favorite sauce.
Tips and Tricks
For best results, read through these tips to ensure a stress-free experience!
Tip #1 – Adjust the dough as needed.
To ensure your dough is soft and smooth, you may need to make slight adjustments. If the dough feels sticky, add a sprinkle of flour gradually. For dry dough, lightly mist or wet your hands.
As you knead, the flour will continue to hydrate and smooth out. If it still feels sticky after several minutes of kneading, you can add a sprinkle of flour at a time until it’s no longer sticking. Conversely, if it feels slightly dry, gently mist it or lightly wet your hands.
Tip #2 – Keep dough tightly wrapped.
This dough will dry out quickly with any exposure to the air, so make sure the dough is completely sealed while resting.
Tip #3 – Eliminate friction.
Roll the pici on a wooden surface free of flour. A wooden surface is the best platform for rolling pici. A countertop will also work, but it may create some friction.
Make sure not to add extra flour to the surface, or the pici will be difficult to roll.
Storage Instructions
Room temperature: Hand-rolled pici can be stored on a semolina-dusted baking sheet for up to 2 hours covered with a kitchen towel.
Fridge: Store fresh pici in a single layer in a sealed airtight container in the refrigerator for up to 24 hours. To prevent stickage, dust with plenty of semolina flour.
Freezer: For longer-term storage, freezing is a great option. Layer the strands of pasta in an even layer on a parchment-lined baking sheet. Freeze for 1 hour until solid, then transfer to an airtight container or Ziploc bag and freeze for up to 1 month. Cook straight from frozen.
For more details, check out my comprehensive guide to storing fresh pasta.
Recipe FAQs
No! That’s part of their rustic charm. When you roll out and cut the dough into strips, you’ll have strips of different lengths. And they don’t need to be perfectly even!
Yes, you can. All-purpose flour tends to be lower in protein content than the 00 flour I recommend, but the difference is pretty small if you use a high-protein AP flour like King Arthur Flour.
Pici made with AP flour might take a bit longer to cook and yield a slightly dough-ier result, but it will still taste great.
When done, these noodles will have a chewy, slightly ‘al dente’ bite without feeling too firm or hard!
This recipe has been tested by an in-house recipe tester.
Did you try this recipe?
I would love to hear your feedback! Be sure to rate the recipe and leave a comment below.


Pici Pasta Recipe
Equipment
- Bench Scraper, optional
- Spray Bottle, for misting the dough as needed | optional
- Sharp Knife
Ingredients
- 320 grams 00 flour, or another high-protein white bread flour (see notes below) | you can also use a mix of 00 flour and semolina flour for a firmer bite (notes below)
- 1 teaspoon Diamond Crystal Kosher Salt, use half the amount if using any other type of salt
- 160 ml water, plus more as needed
- 15 ml extra-virgin olive oil, plus more as needed
- Semolina flour, for coating and dusting
Instructions
- Form the well: In a large mixing bowl, combine 320 grams 00 flour and 1 teaspoon Diamond Crystal Kosher Salt. Using your fist or a small glass, form a well in the center of the flour. Pour 160 ml water and 15 ml extra-virgin olive oil into the well.
- Mix: Using a fork, begin incorporating some of the flour into the liquid, stirring to combine. Continue mixing more and more of the flour into the well, whisking until the liquid in the well starts thickening. Once it becomes thick and pasty, place the fork down. With your hands or a bench scraper, alternate between incorporating more of the remaining flour and kneading the dough in the bowl.
- Knead: Knead until everything comes together into a rough, shaggy mass, then transfer the dough to a wooden surface or countertop, about 2 – 3 minutes.Continue kneading, for about 5 – 8 minutes, until the dough feels soft, tacky (but not sticky or dry), and almost perfectly smooth. Note: The key here is ensuring the dough is soft, but not dry or sticky at all (If it's even barely sticky at this point, it'll only become stickier as it rests). As you continue kneading, the flour will continue to hydrate and come together into a smoother ball. If it still feels sticky after several minutes of kneading, add a teaspoon of flour at a time until it’s become more smooth and soft. Conversely, if the dough feels slightly dry (which can happen in drier climates), you can gently mist it or lightly wet your hands.
- Rest: Wrap the dough tightly in plastic wrap and allow it to rest at room temperature for one hour (up to 2 hours). This resting time will relax the gluten and smooth out the dough further.
- Prep the baking sheet: After resting, line two large baking sheets with parchment paper, and generously dust them with semolina flour. Place a small bowl of semolina next to the baking sheet and set aside.
- Roll: Cut off a quarter of the dough. Re-wrap the rest of the dough and set aside. On an unfloured wooden cutting board, roll out the quartered piece of dough to a rough rectangle shape about ⅛-inch (~5/16 cm) thick. If the dough begins to dry out, you can brush it with a bit of olive oil to help moisten it.Note: The dough may form more of an "ovular" rectangle, which is fine! Don't stress too much about this.
- Slice: Arrange the rectangle of dough so that the long way is facing you. Use a sharp knife (or a bench scraper) to cut the dough into ¼-inch (~⅝cm) wide strips. Note: I find the easiest way to cut the dough into clean strips is to firmly drag the knife from one end of the dough to the other (as opposed to slicing the dough).
- Shape: On an unfloured wooden cutting board or work surface, roll each strip until it forms a thick spaghetti-shaped strand. To roll the strips, place both hands at opposite ends of the dough and spread your fingers apart. Applying even pressure, begin moving your fingers over the strand in opposing, outward directions to thin out each piece to ⅛-inch (~5/16cm) to 3/16-inch (~½cm) thickness. Examine the strand and even out any uneven sections.This process can take a bit of practice to get the hang of things. If you're having difficulty, you can also pick up the strand in your hands and pinch the short ends together to create a rounded cylindrical-esque surface, then roll it with your hands to seal any gaps and thin out the strand. Note: An unfloured wooden surface is the easiest platform for rolling the pici. A countertop will also work, but it may create a bit of friction. If the dough feels resistant to roll (due to friction or dryness), you can moisten your hands slightly to help it move. For best results, keep your dough tightly wrapped in plastic wrap to prevent it from drying out.
- Finish shaping: Finally, pick up each end of the strand in your hands and taper it to a rounded tip.Dip each strand into the semolina flour, then transfer it to the baking sheet. Make sure the noodles are not touching one another. Repeat the process with the remaining pieces of dough.
- Cook: To cook the pici, bring a large pot of salted water to a boil. Add the noodles, stirring to separate them. Boil for 2 – 4 minutes, or until they've cooked through but still retain a bite. Drain the noodles and serve with your favorite sauce.
Video

Notes
- Roll the pici on a wooden surface free of flour to eliminate sources of friction.
- Keep the dough tightly wrapped at all times to prevent it from drying out.
- Don’t worry too much about perfectly even strands — they’re meant to be rustic! As long as they’re relatively similar in thickness, they’ll cook up fine.
Nutrition
The nutritional information on this website is only an estimate and is provided for convenience and as a courtesy only. The accuracy of the nutritional information for any recipe on this site is not guaranteed.


The dried Pici I got in Tuscany had 20 min cooking time. Will the fresh version here get the same lovely texture?
Hi! Though similar, the fresh version has a slightly different texture. It will be a bit softer and chewier, whereas the dried pasta has more of an ‘al dente’ bite. If you’d like to mimic the dried version more, I’d recommend a 50/50 mixture of 00 flour and semola rimacinata flour for a firmer bite.
I loved making this homemade pasta without needing any special equipment
This was the first recipe I used on the home cooking collective. It was so fun to make the pasta. Then when I went to Florence I thought to myself and saw pici pasta everywhere, I can make this!
Hi Aaron, I’m so happy you enjoyed the recipe! It’s a great way to enjoy some traditional Tuscan pasta!
Ooh a pasta without a pasta machine?! This is so up my alley. Definitely filing this away for a weekend project.
Yes! It’s truly so accessible. Let me know how it goes!
Can you use you mixer for any part of this? Or is hand done better?
Hi Marlene,
I personally like the act of hand-kneading the dough but I haven’t tried it in a mixer, so it’s possible it’s just as good! You could try to put the dough in the mixer once you’ve kneaded it a bit to a shaggy dough; attach the dough hook and knead to a smooth texture before allowing it to rest.
Hope that helps!
– Karishma