This homemade semolina pasta dough is an easy 2-ingredient recipe used to make hand-rolled cavatelli, orecchiette, gnocchetti sardi, and many more shapes traditional to Southern and Central Italy. All you need is flour and water, and you’re ready to go! I’ll guide you smoothly through every step, from perfecting the dough to hand-forming shapes and storing the pasta.

In 2020, I spent week after week learning a new handmade pasta shape, from chewy cavatelli to delicate farfalle. Along the way, I picked up many tips, techniques, and learnings about traditional homemade pasta that I’m very excited to share with you.
Semolina pasta is easy and delicious; you don’t need a pasta maker or any other special equipment!
Why This Recipe Works
- I’ve spent lots of time making homemade pasta dough, teaching workshops, and even recipe testing for the pasta cookbook Pasta by Hand. I’m sharing my best techniques for great pasta.
- I’ve made many mistakes along the way, and I’m sharing what I’ve learned so you don’t have to!
- I’ll walk you through every step necessary to make delicious homemade pasta.
Notes & Caveats
- This recipe focuses on a traditional eggless semolina dough from Southern Italy made only from semolina flour and water.
- While some fresh egg pasta shapes, such as fettuccine or pappardelle, include semolina flour for added chew, I won’t be covering that style of pasta here!
Okay, I think that’s it. Let’s get started!
The Origins of Handmade Pasta
Semolina dough likely originated in the Southern region and some areas of Central Italy. In my research, I came across a few interesting facts I’d love to share from the Encyclopedia of Pasta, which outlines the history of every known pasta shape:
- Over many centuries, pasta shapes spread from one region to another for various reasons. One such reason was from seasonal migrant farmworkers, who “carried knowledge of new foods back and forth.”
- Some areas, however, were so insular that a particular shape became localized to that specific region.
- Cavatelli, a popular semolina-based pasta shape, was originally from Italy’s Molise and Puglia regions. You can find it across Southern Italy, albeit with different names.
- Cavatelli likely originated from the simplest form of pasta dough known as “gnocco”, a simple dough made from flour and water. Historically, it was made with many different types of flour, including fava beans, whole wheat flour, and grano arso (burnt wheat).
- Pasta making started in the family kitchens, then eventually moved to workshops in the mills. For larger batches, men used their feet to knead the dough.
- The women would hand-knead and shape the dough into individual pieces. The process was very labor intensive (and expensive) until relatively recent technology allowed for automation.
Perfecting the Dough
Orecchiette, malloreddus, pici, and cavatelli are all examples of different pasta shapes made with simple ingredients, namely semolina flour and water. Traditionally, these doughs use a 1:2 ratio of water to flour; very few versions require eggs, though some include olive oil.
Doughs must be kneaded for at least 5 minutes, often up to 20 minutes, to form enough gluten and yield a toothsome, al dente product. As a result of a longer kneading process, you’ll also want to rest your dough for at least 30 minutes, ideally an hour.
The rest time helps the gluten relax, so the dough is easier to work with (otherwise, it can spring back and resist stretching).
Key Ingredients

Flour: Flour is a vital component in pasta making. Kneading flour with a liquid (eggs or water) allows the gluten to form from the proteins in the flour. This gluten formation creates the characteristic slightly stretchy, elastic texture in pasta.
Semolina Flour: Semolina flour is made by milling hard durum wheat flour with higher protein and a characteristic pale yellow color. Because of its coarse nature, it’s most often used for dusting (to keep the pasta from sticking to itself) or to add a chewy bite.
Some pasta recipes call for semolina flour, but most will call for a finer ground (labeled ‘semola rimacinata’ or ‘durum wheat flour’) for a smoother dough.
Semola Rimacinata Flour: Semola rimacinata is made by grinding semolina even further into a finer ground. In addition to being higher in protein and adding a bit of chew, its rougher texture allows sauces to get trapped and cling to the noodles.
This is the flour I recommend for eggless doughs, and my favorite brands are Antimo Caputo and Molino Grassi.
TIP: While you can make semolina-based shapes (ex: cavatelli) with 00 flour or even all-purpose flour, the texture will be significantly different. For best results, use semolina/semola, which adds bite, chew, and strength to the pasta, while all-purpose will be softer and gummier.
Water: Because of semolina’s coarser consistency, lukewarm to warm water helps ensure a smoother kneading.
Salt (optional): Add a pinch of salt to the dry ingredients to season the pasta. This is not strictly necessary, as long as you generously season your pasta water, but it’s easy enough to do!
For a full list of ingredients and their quantities, please refer to the recipe card.
How to Make This Recipe (Video & Photos)


Step 1: Measure flour in a large mixing bowl. Make a well with your fist (or a glass) in the center of the flour, and add the water into the well.

Step 2: In a circular motion, mix the flour into the center of the well with your hands or a fork. Add more and more flour into the well, whisking with the fork until the liquid in the well starts thickening.

Step 3: Once thick and pasty, place the fork down and transfer to a clean work surface.
Alternate between incorporating more of the remaining flour and kneading until a shaggy dough forms. A bench scraper is helpful for picking up any scraggly bits from the work surface and your hands.

Step 4: Once in a solid mass, transfer to a clean work surface. Now, you’re going to start kneading. Dig the heel of your hand into the dough, stretching it outwards, then rotate it counterclockwise at 45 degrees.

Step 5: Continue kneading until the dough is soft and smooth, about 15 – 20 minutes. Yes, that long. This dough is much higher in protein than egg dough, and it needs a lot more kneading time to build enough gluten and yield a chewy, toothsome texture.

Step 6: Let rest, covered, for at least one hour, up to 2 hours, at room temperature to allow the gluten to relax and the dough to hydrate. You can keep it in the fridge, wrapped tightly, for 1-2 days, but I prefer to roll it out on the same day.
Step 6: Cut and shape the dough according to your desired shape.
How to Make Pasta Shapes
Most semolina-based cuts follow a similar process, outlined below:
- Cut off a 2-inch chunk of dough, keeping the rest wrapped tightly in plastic wrap.
- Roll the chunk into a thin rope (between ¼-inch to ½-inch in diameter).
- Cut the rope into ¼-inch to 1-inch pieces.
- Hand roll and shape each piece according to the shape you’re looking to make.
- Store on a semolina-dusted baking sheet and repeat with the remaining sections of dough.
Looking for shape inspiration? I have a recipe for homemade orecchiette and gnocchetti sardi (malloreddus). I also recommend Pasta Social Club’s recipe collection, which has a variety of shape tutorials.
Storage Instructions

- Pasta Dough: I generally prefer not to store pasta dough, as the color/texture can change slightly, but if necessary, you can refrigerate it for up to 24 hours after wrapping it tightly in plastic wrap.
- Refrigerating Shapes: Keep shapes on a baking sheet generously dusted with semolina flour. Make sure none of the pasta sticks to one another. Cover with plastic wrap and keep in the refrigerator for 1-2 days max.
- Freezing Shapes: Freeze on a semolina-dusted baking sheet until hardened at least one hour. Then, transfer the pasta shapes to an airtight container or sealed bag for up to one month. For more details, check out my guide on how to store fresh pasta.
For both of these methods, there is no need to thaw before cooking. Instead, you can add them straight into the boiling water.
Troubleshooting
While kneading: Sprinkle a small amount of additional flour (about 1 teaspoon) over the dough; continue kneading and adding extra flour until the dough becomes more manageable.
After resting: For semolina dough, if it’s a little bit sticky, it’s okay — this dough dries out somewhat quickly as you make shapes, so it may still be workable. If it is very sticky, sprinkle a bit of flour on the dough and knead for a couple of minutes. Allow the dough to rest for 10 minutes, then try working with it again.
While kneading: Sprinkle a little water (about 1 teaspoon) until the dough becomes more manageable. If you have a spray bottle, that works well.
If you have small dry bits at the beginning of the kneading phase, they may very well get incorporated. If you’ve been kneading for a while, you can scrape away those bits and set them aside.
After resting: Always make sure you’re wrapping any unworked dough tightly in plastic wrap. That said, the dough can dry out quickly. To moisten the dough, spray with a spray bottle or run your hands under water.
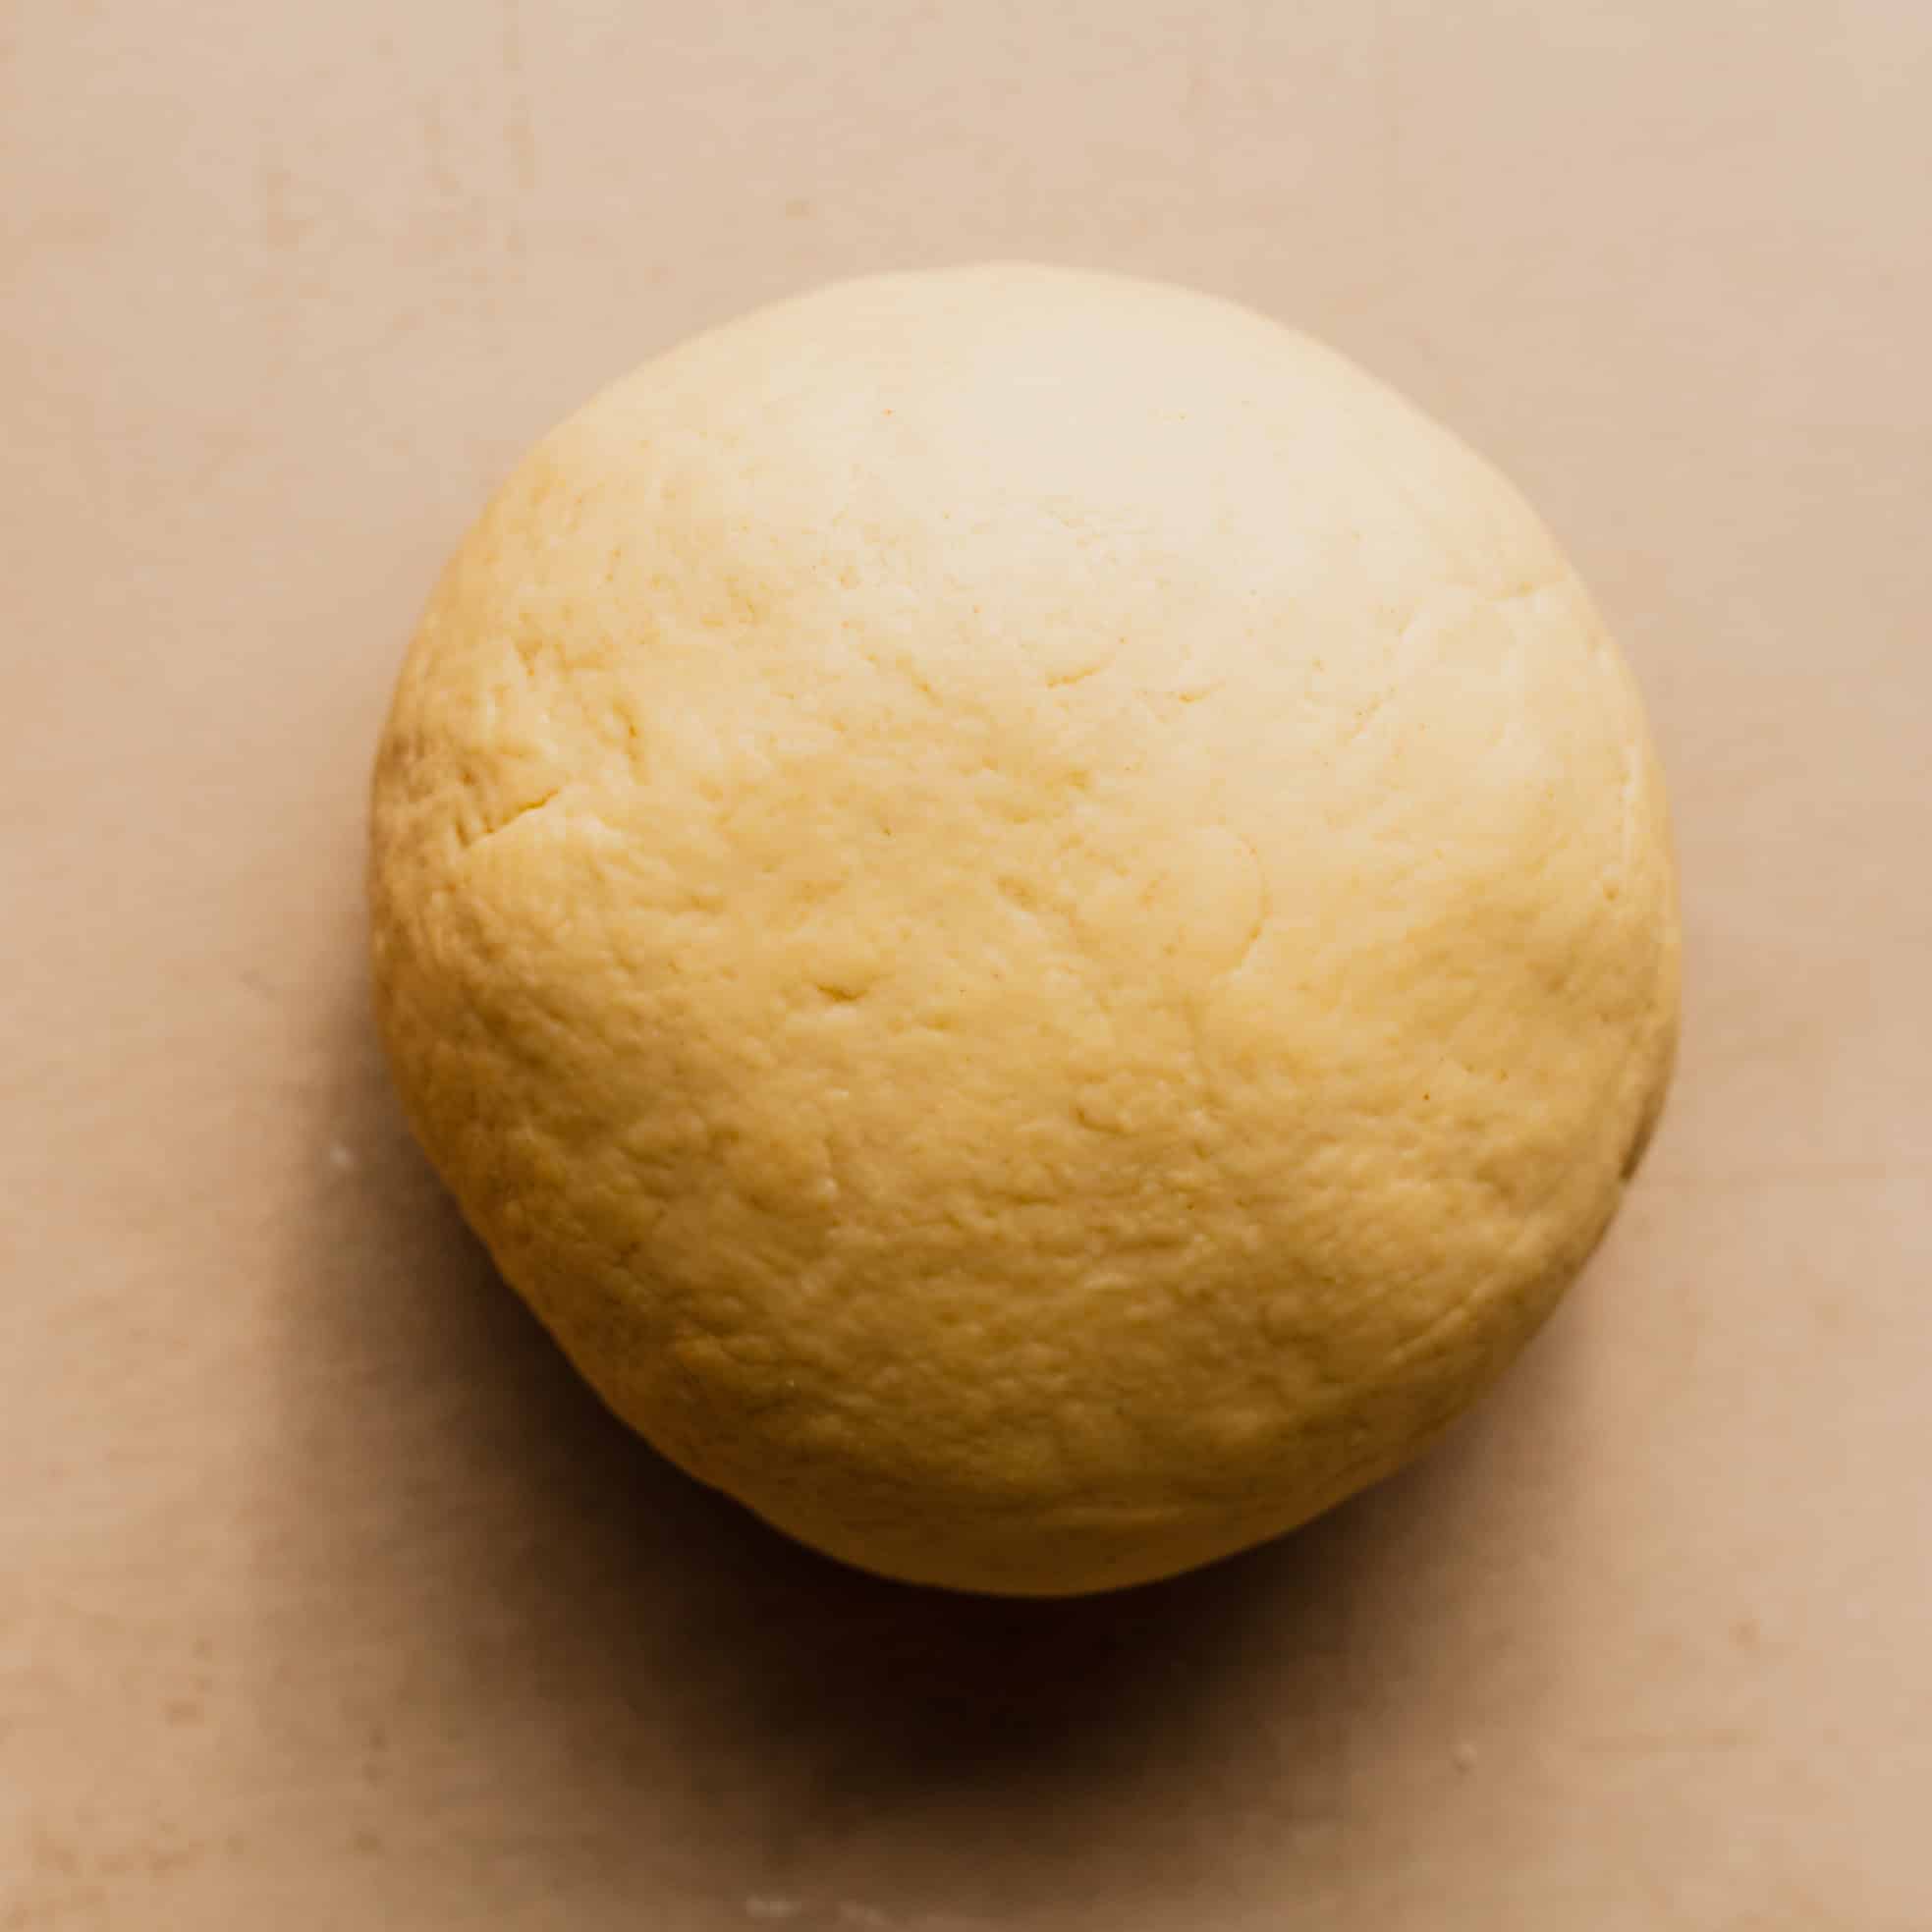
You can get the hang of this the more you practice. The dough ball will generally be relatively smooth — there shouldn’t be any dry bits on the surface. It should feel tacky but not sticky.
Most doughs use a 2:1 ratio of semolina flour to water, as I’ve indicated in the recipe, but it can vary slightly on the particular shape!
Did you try this recipe?
I would love to hear your feedback! Be sure to rate the recipe and leave a comment below.
Want to see more of my content? Add me as a trusted google source.


Homemade Semolina Pasta Dough
Equipment
- Wooden Cutting Board or Large Work Surface
- Spray Bottle, optional
- Plastic Wrap
Ingredients
- 320 g semola rimacinata flour
- 160 ml water, plus more as needed
Instructions
- To a large mixing bowl, add 320 g semola rimacinata flour. Using your fist or a small glass, form a well in the center of the flour. Add 160 ml water into the well.
- Using a fork, begin incorporating some of the flour into the liquid, stirring to combine. Begin incorporating more and more of the flour into the well, whisking until the liquid in the well starts thickening.
- With your hands or a bench scraper, alternate between incorporating more of the remaining flour and kneading the dough in the bowl.
- Knead the dough until it comes together into a rough, shaggy mass, then transfer the dough to a wooden surface or countertop, about 2 – 3 minutes.
- Continue kneading, for about 15 – 18 minutes, until the dough feels soft, tacky (but not sticky or dry), and almost perfectly smooth. As you knead, there may be a few small, dry bits that won't incorporate into the dough; you can discard them.Note: The key here is ensuring the dough is soft, but not dry or sticky at all. As you continue kneading, the flour will continue to hydrate and come together into a smoother ball.
- If the dough still feels sticky after several minutes of kneading, add a teaspoon of flour at a time until it’s become more smooth and soft. Conversely, if the dough feels slightly dry (which can happen in drier climates), you can gently mist it or lightly wet your hands.
- Wrap the dough tightly in plastic wrap and allow it to rest at room temperature for one hour (up to 2 hours). This resting time will relax the gluten and smooth out the dough further.
- Roll out the dough as needed according to your desired shape.
Video
Notes
Nutrition
The nutritional information on this website is only an estimate and is provided for convenience and as a courtesy only. The accuracy of the nutritional information for any recipe on this site is not guaranteed.