


You’ll absolutely love this luscious, creamy ricotta cheese, thanks to a foolproof method that uses just four ingredients: milk, cream, salt, and vinegar (or lemon juice).
“This was amazing! I will never need to buy ricotta again.” – Sandra ★★★★★

Ricotta literally translates to “recooked,” referring to the fact that the cheese is made from recooking the leftover whey of other cheeses. Technically, “authentic” ricotta cheese is made with whey, but leftover whey can be hard to come by, so the method I use requires only milk, cream, salt, and acid.
It’s a bit of a cheat, but regardless, it’s very delicious! Because the homemade version is so special, it’s also a great gift. Drop off a container of this stuff with a jar of rhubarb jam or garlic confit, and your friends and family will be rewarded for the week.
👩🏽🍳 Cook’s Notes
why you’ll love this recipe
- This is my go-to method for making ricotta, and it’s been tested by an in-house recipe tester. Throughout the recipe, I’ve included several tips and tricks for a foolproof result.
- A combination of milk and cream produces a silky, creamy and luxurious texture.
- For a milkier texture, like with my whipped ricotta, strain for less time; for a thicker consistency, strain longer and use in egg yolk ravioli or ricotta gnocchi.
No Whey? No Problem!

Traditional Whey-Based Method
Italians have been making ricotta-like cheese since the bronze age! Traditionally, whey would sit out for many hours and naturally ferment. When the fermented whey was heated, the combination of acidified whey plus heat naturally curdled the liquid, and the curds were strained to produce ricotta.
Surprisingly, the use of whey to make ricotta likely came much later (compared with milk-based cheeses), as a way to use up leftovers from making other cheeses.
Our Modified Milk-Based Method
You’ll heat milk with a pinch of salt in a pot until it just begins to simmer. Since regular old store-bought milk itself is not acidic enough on its own to curdle, you need to add lemon juice, vinegar, or citric acid to do the job.
As the milk begins to curdle, you’ll turn off the heat to let it form curds. Strain the solids, and you’re done!
Key Ingredients
Milk
- Do not use ultra-pasteurized milk. Ultra-pasteurized milk has been heated to a sufficiently high temperature to denature some milk proteins, so it will not coagulate properly. Regular pasteurized milk is totally fine, as is homogenized or non-homogenized milk.
- I highly recommend using whole milk. I’ve gotten wonderful results from using Whole Foods Organic Whole Milk and milk from local farms, like High Lawn Farms.
- You can make ricotta with 2% milk (for a slightly less creamy texture), but anything lower will produce a poor yield.
- “Older” milk will curdle more easily. Milk that is closer to its expiration date is more likely to curdle.
Heavy Cream
In addition to milk, I also like to add a bit of heavy cream (you’ll want to avoid ultra-pasteurized here, too) for richness and moisture.
PS – Leftover heavy cream is wonderful for homemade crème fraîche!
Acid
Both lemon juice and white distilled vinegar are very commonly used in cheesemaking. Use whatever you prefer, but keep in mind the following:
- Usually, white distilled vinegar is slightly more acidic than lemon juice, so you might not need to use as much vinegar to curdle the milk. Its neutral flavor is well-suited to savory applications.
- The citrus notes from lemon juice pair well with desserts, and anywhere you’d like a bit of lemony flavor.
- Do not use a strongly flavored vinegar, such as apple cider vinegar, as it will impart those flavors to the ricotta.
For a full list of ingredients and quantities, refer to the recipe card.
Recommended Equipment
While this recipe can be made with any special equipment, certain tools can make the process a whole lot easier.
Cooking Thermometer
A cooking thermometer, such as a candy thermometer or an instant-read thermometer, is infinitely helpful here.
If you’ve never made ricotta before, it’s a bit trickier to hit the right temperature without a thermometer. Once you’ve made it once or twice, it gets easier to know what to look for.
If you’re not using a thermometer, make sure to follow the images and descriptive cues on heating the milk!
We’re looking to heat the milk to a temperature roughly around 185°F (85°C). At that temperature, the proteins in the milk re-structure in a way that results in curds with a more viscous, thickened texture.
I’ve found that 185°F (85°C) to 190°F (88°C) is a good sweet spot, where you’ll have a good yield of creamy, fluffy ricotta. If you end up a little above or below (195°F or 180°F), that’s okay too.
Where you start to affect things is when you’re significant above or below that 185°F (85°C) mark. For example, 165°F will lead to less yield and a much milkier result. The higher the temperature, the drier and grainier the curds.
Cheesecloth
I use a cheesecloth to separate curds from the whey. You can easily purchase one from the grocery store, but if you don’t have one handy, you can use a very thin (see-through) t-shirt.
How to Make This Recipe


Step 1: Heat the milk and cream over medium-high heat in a large stainless steel pot. Insert a thermometer into the pot, and stir the milk, occasionally, to prevent any scorching on the sides.
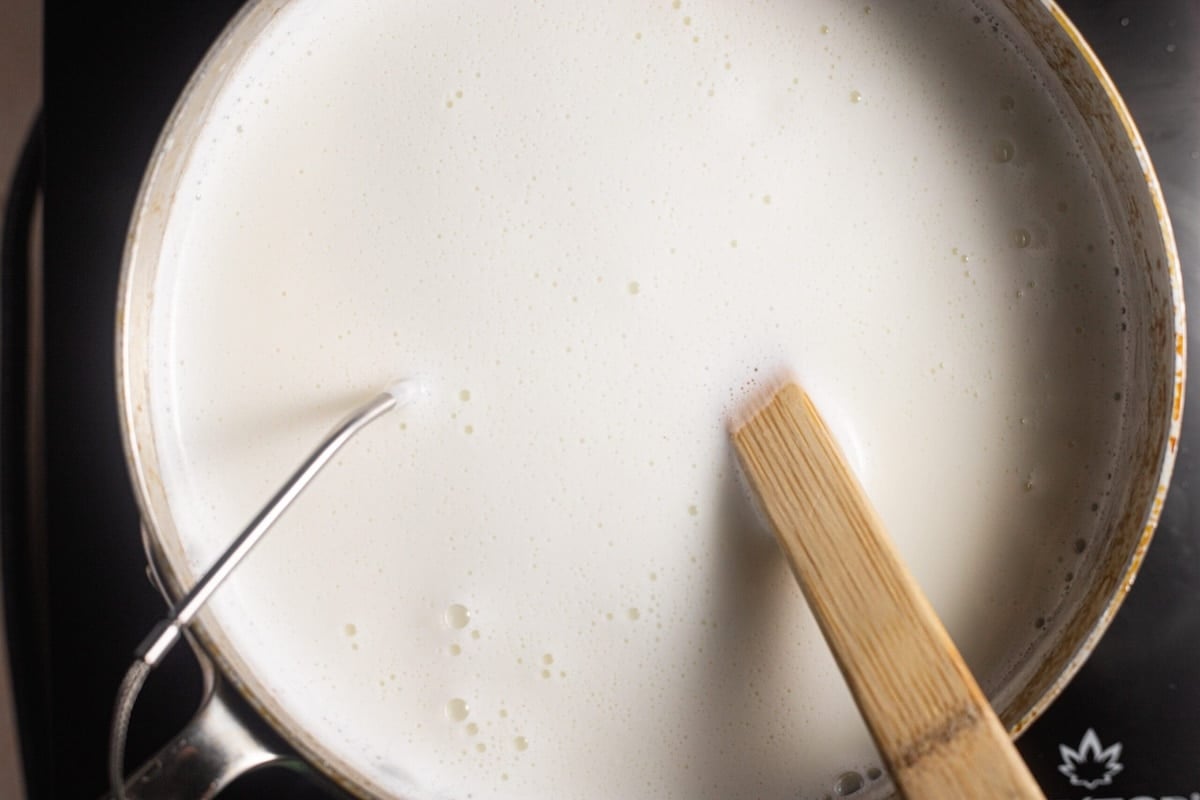
Step 2: Once the milk reaches 185°F (85°C) to 190°F (88°C), continue heating the milk, keeping it around that temperature for an additional 3 – 5 minutes.
The continued heating ensures that the whole mixture is definitively at the right temperature for optimal curdling. You can reduce the heat slightly, as needed, to keep it at that temperature.
If you don’t have a thermometer, what you’re looking for is a very bare simmer, or small bubbles on top with foam on the sides and a good amount of steam.

Step 3: While stirring, slowly pour in the vinegar or lemon juice until milk begins to curdle and separate. Let sit for 10 minutes to allow the curds to fully separate.

Step 4: You should see a yellow-ish whey and small curds that appear soft and cloudy. Use a slotted spoon to scoop the curds into a cheesecloth.
TIP: Ideally, you use the least amount of acid to produce curds and limit any impact on flavor or texture. But there’s a balance here — too little acid, and you may not produce enough curds. The good news is that you can always add more if it’s not enough! If you don’t see curd separation (or it still looks quite milky), you can add a bit more acid, and set the milk over medium heat just until you see more curd separation.
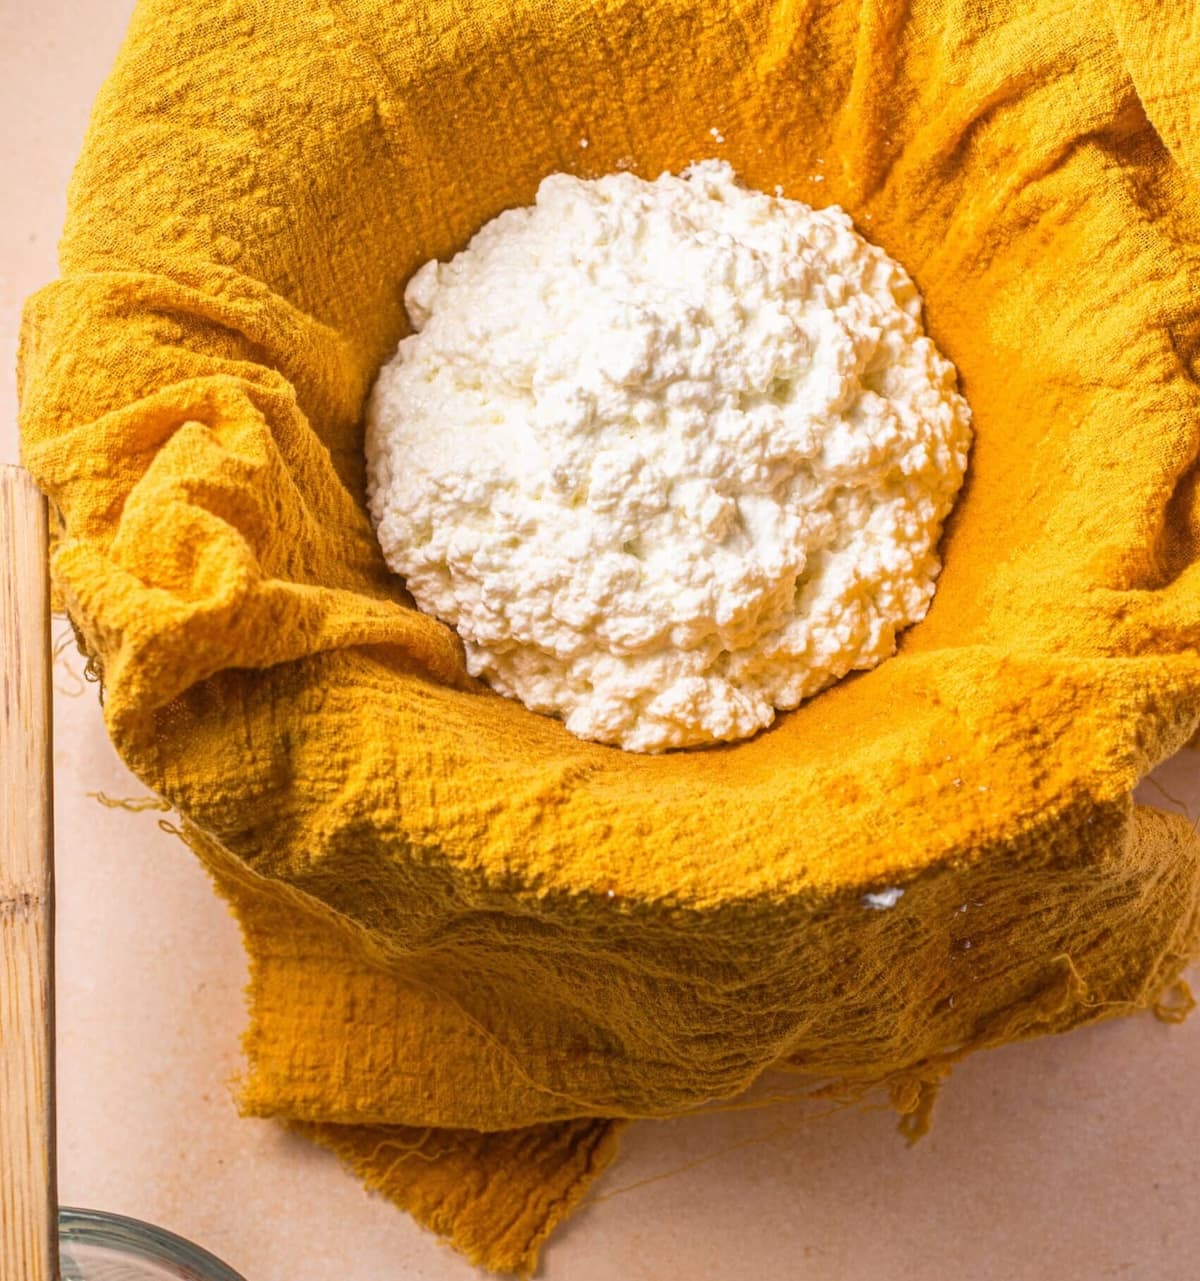
Step 5: Drain the ricotta. Drain the ricotta to your desired consistency, then transfer to a container and store in the fridge.
Recipe FAQ
Yes! You can use either milk and proceed with the recipe in the same manner.
Don’t feel like you need to discard the whey. You can use it in place of water in many cases! Add the whey to smoothies or use it in place of water for cooking rice, grains, or potatoes.
For a creamier, looser consistency, you may only need about 5 – 10 minutes of draining. For firmer curds, you may need to drain the ricotta for upwards of 30 – 45 minutes.
Technically, yes; however, I don’t recommend it because the thawing process can significantly impact the texture of the cheese.
Did you try this recipe?
I would love to hear your feedback! Be sure to rate the recipe and leave a comment below.

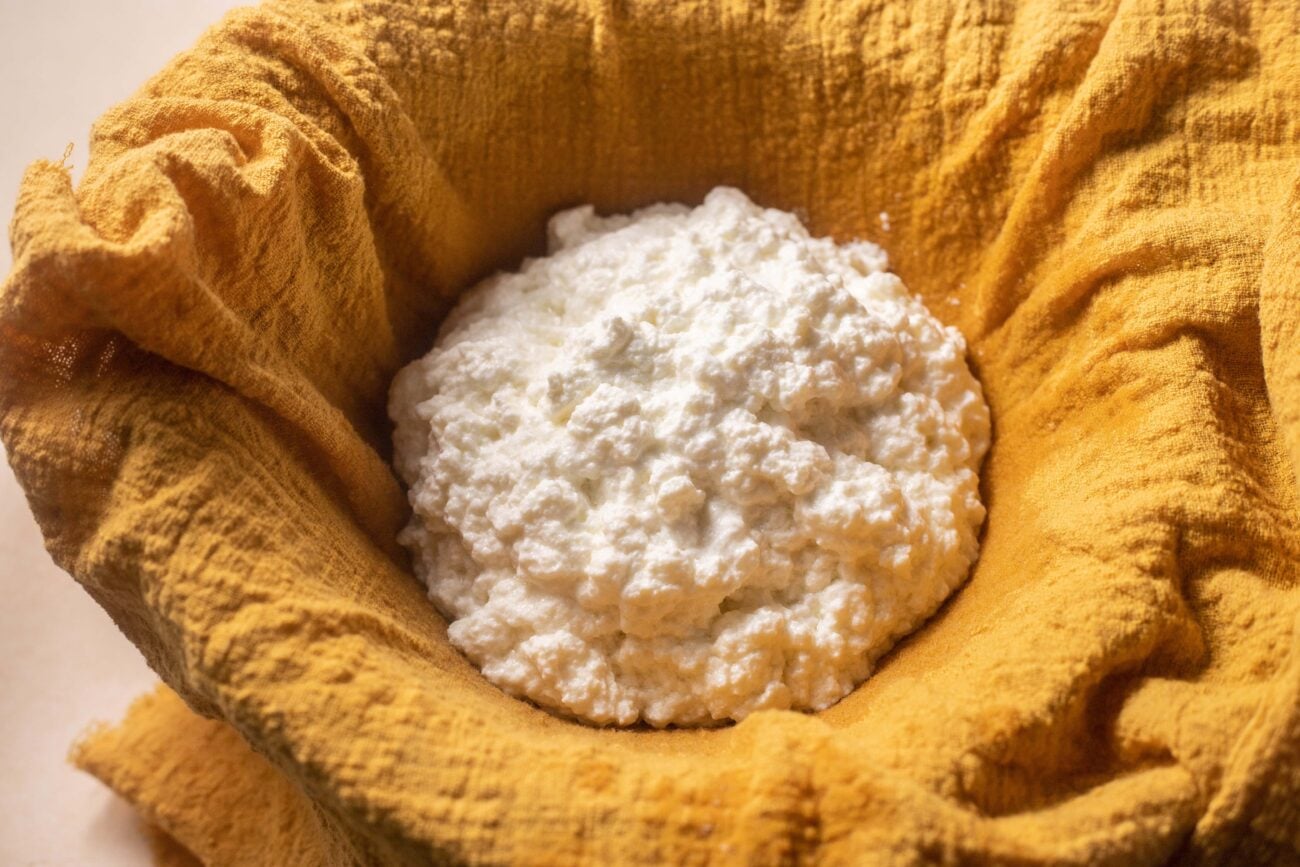
Homemade Ricotta Cheese (Extra-Creamy!)
Equipment
- Large, heavy-bottomed pot, a dutch oven or stock pot is great
- Large pot for collecting the whey, such as a stock pot
- Cooking thermometer, highly recommended
- Cheesecloth, or an extra thin, slightly translucent t-shirt
Ingredients
- 4 cups whole milk, avoid ultra-pasteurized as it can prevent curds from forming
- 1 cup heavy cream, avoid ultra-pasteurized as it can prevent curds from forming
- ½ teaspoon kosher salt, plus more if desired
- 2 tablespoons white distilled vinegar, or 3 tablespoons lemon juice | plus more if needed
Instructions
- Set a large heavy-bottomed pot with 4 cups whole milk, 1 cup heavy cream, and ½ teaspoon kosher salt over medium-high heat. Insert a cooking thermometer inside the pot to monitor the temperature.
- Heat, stirring occasionally to prevent scorching, until the mixture reaches 185 – 190°F. It should be steaming, with small bubbles and foam across the surface, but should not reach a full boil. This may take 10 – 20 minutes.
- Maintain the temperature between 185 °F – 190 °F for 3 – 5 minutes, and continue stirring. If needed, lower the heat to maintain that temperature.Note: If desired, you can add more salt here to taste. Spoon a bit of the milk into a bowl, let it cool slightly, then taste to see if you want more salt.
- While stirring, slowly pour in 2 tablespoons vinegar or 3 tablespoons lemon juice until the mixture begins to curdle. You should see white curds separating from the translucent yellowish whey. Immediately stop stirring and remove from the heat.Note: If the mixture doesn’t curdle at all, keep stirring over the heat, then add 1 tablespoon vinegar (or 1 tablespoon lemon juice) until it begins to separate. If needed, continue adding only 1 teaspoon of acid at a time until the mixture separates. Then immediately stop stirring and remove from the heat.
- Allow the mixture to sit for 10 minutes; it will continue to separate over time.Note: If the mixture still looks very milky, you can add another teaspoon of vinegar or lemon juice to the pot and return the pot to medium heat. As the mixture heats, it should begin to curdle more. Remove from the heat once it curdles, then wait for another 10 minutes before proceeding to the next step.
- Meanwhile, set a fine mesh sieve over a large pot. Line the strainer with two layers of cheesecloth.
- Use a slotted spoon to scoop the solid curds from the pot into the cheesecloth. Note: Using a slotted spoon instead of pouring everything into the cheesecloth helps preserve the texture and speeds up the draining process.
- Let the ricotta drain in the cheesecloth to your desired consistency (5 – 10 minutes for soft ricotta or 20 – 30 minutes for firmer ricotta), then transfer to an airtight container in the fridge until ready to use. The leftover liquid, or the whey, can be discarded or saved for another use.
Video
Notes
- Do not use ultra-pasteurized milk. Ultra-pasteurized milk has been heated to a high enough temperature to denature some of the milk proteins, meaning the milk may not coagulate properly. Regular pasteurized milk is totally fine, as is homogenized or non-homogenized milk.
- Whole milk is recommended. You can make ricotta with 2% milk (for a slightly less creamy texture), but anything lower will result in a poor yield.
- Lemon juice vs. vinegar: White distilled vinegar is slightly more acidic than lemon juice. Lemon juice has a stronger flavor. Depending on the use case, it might be nice to have additional notes of citrus (though you will need more lemon juice to curdle the milk). To keep things simple, just use vinegar.
- A cooking thermometer is highly recommended to maintain an optimal temperature. I’ve found that 185°F (85°C) to 190°F (88°C) is a good sweet spot, where you’ll have a good yield of creamy, fluffy ricotta. If you end up a little above or below (195F or 180F), that’s okay too. Where you start to affect things is when you’re significantly above or below the 185°F (85°C) mark.
- Storage: Store ricotta cheese in an airtight container for 4 to 5 days in the fridge.
- Leftover whey can be used in smoothies. You can also use it in place of water in many cases, such as cooking rice or other grains and potatoes.
Nutrition
The nutritional information on this website is only an estimate and is provided for convenience and as a courtesy only. The accuracy of the nutritional information for any recipe on this site is not guaranteed.
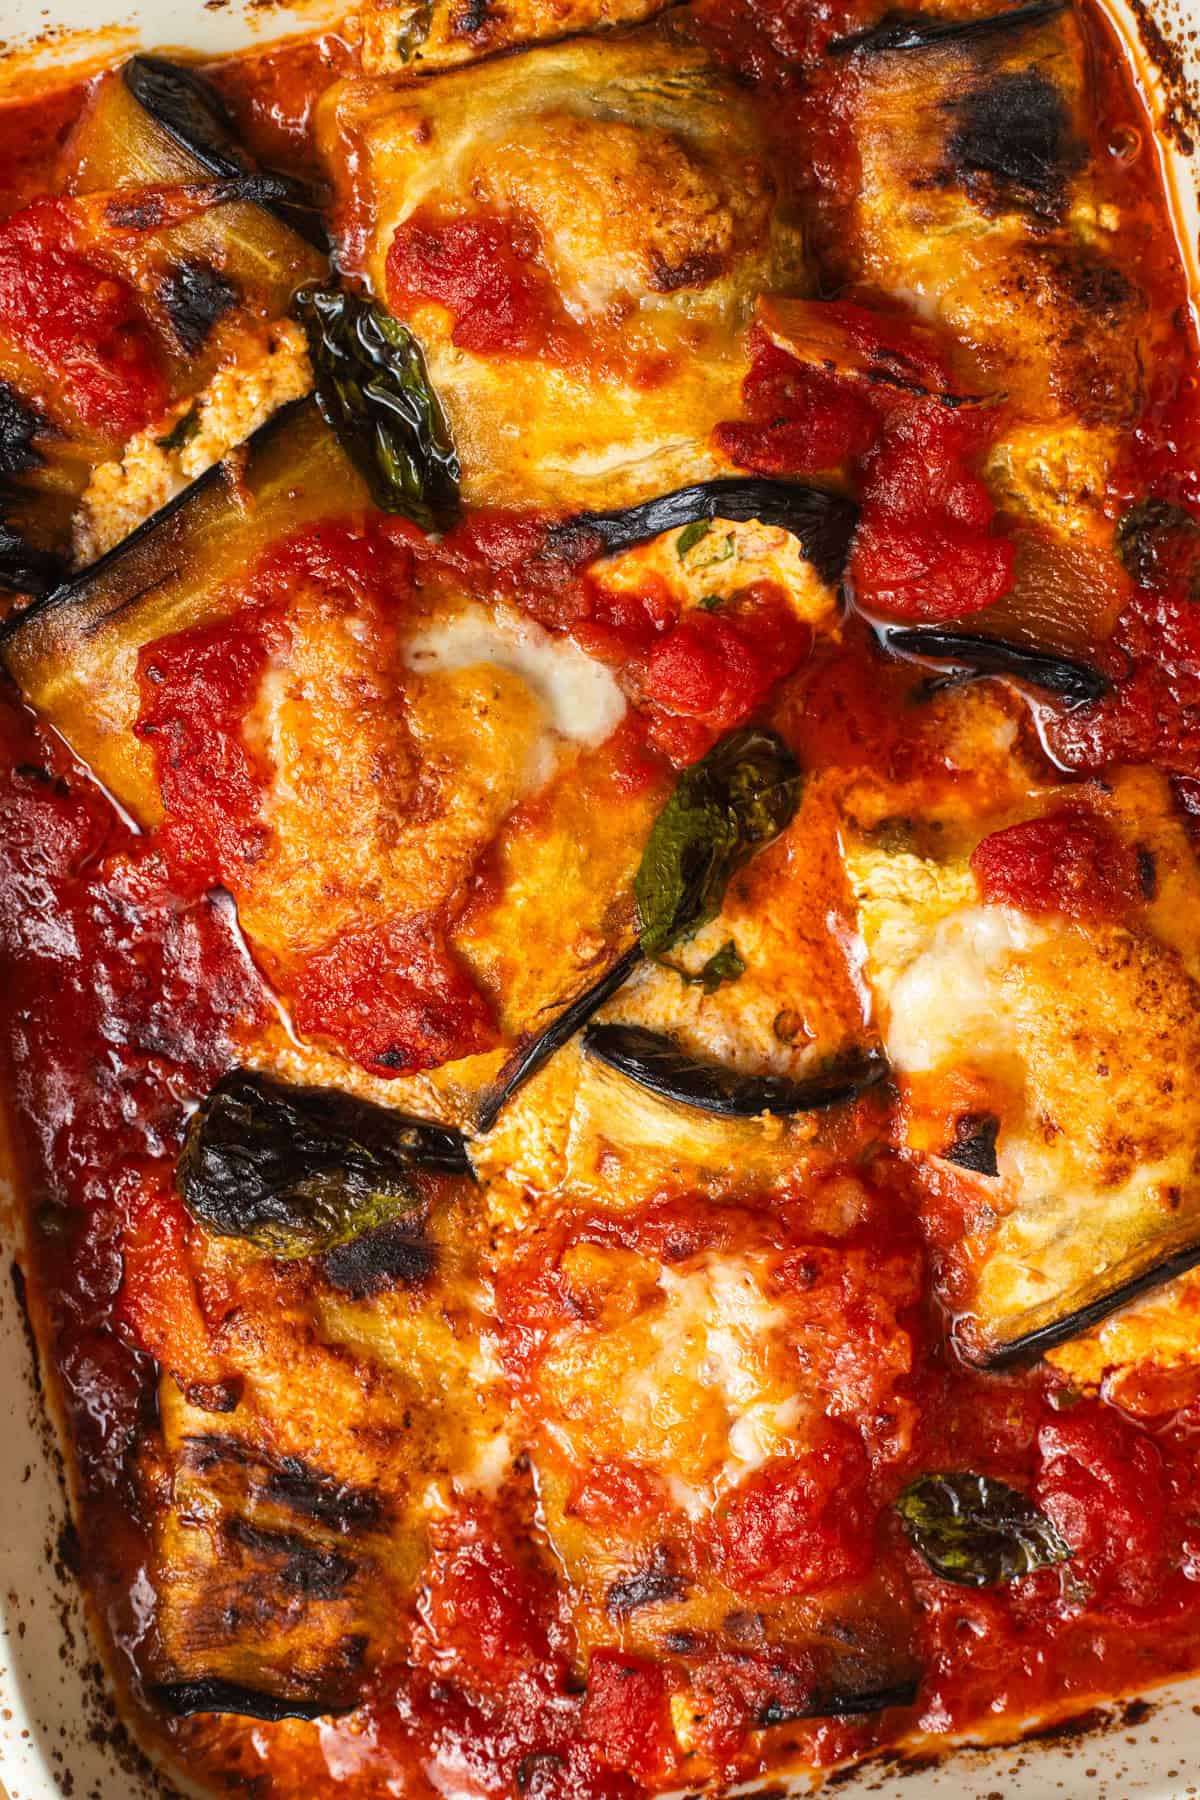


This was amazing! I will never need to buy ricotta again. I had some milk I needed to use up and gave this a try. I am so glad I did. I used vinegar, will try lemon juice next time to see how we like it.
So glad to hear it! Curious to see which acid you like more!
This recipe has way too much acid. Ruined the taste completely.
Hi AnnMarie,
Sorry to hear it didn’t work for you! Did you use white vinegar or lemon juice?
Can you freeze this?
Hi Michelle,
Yes, if needed you can freeze the ricotta in an airtight sealed Ziploc freezer bag for up to 3 months. However, the freezing process can impact the texture of the ricotta leading to a grainier texture. If you’d like to preserve the creamier texture, I don’t recommend freezing but if not you can definitely try this method out!
PERFECT RECIPE!
So happy you loved it!