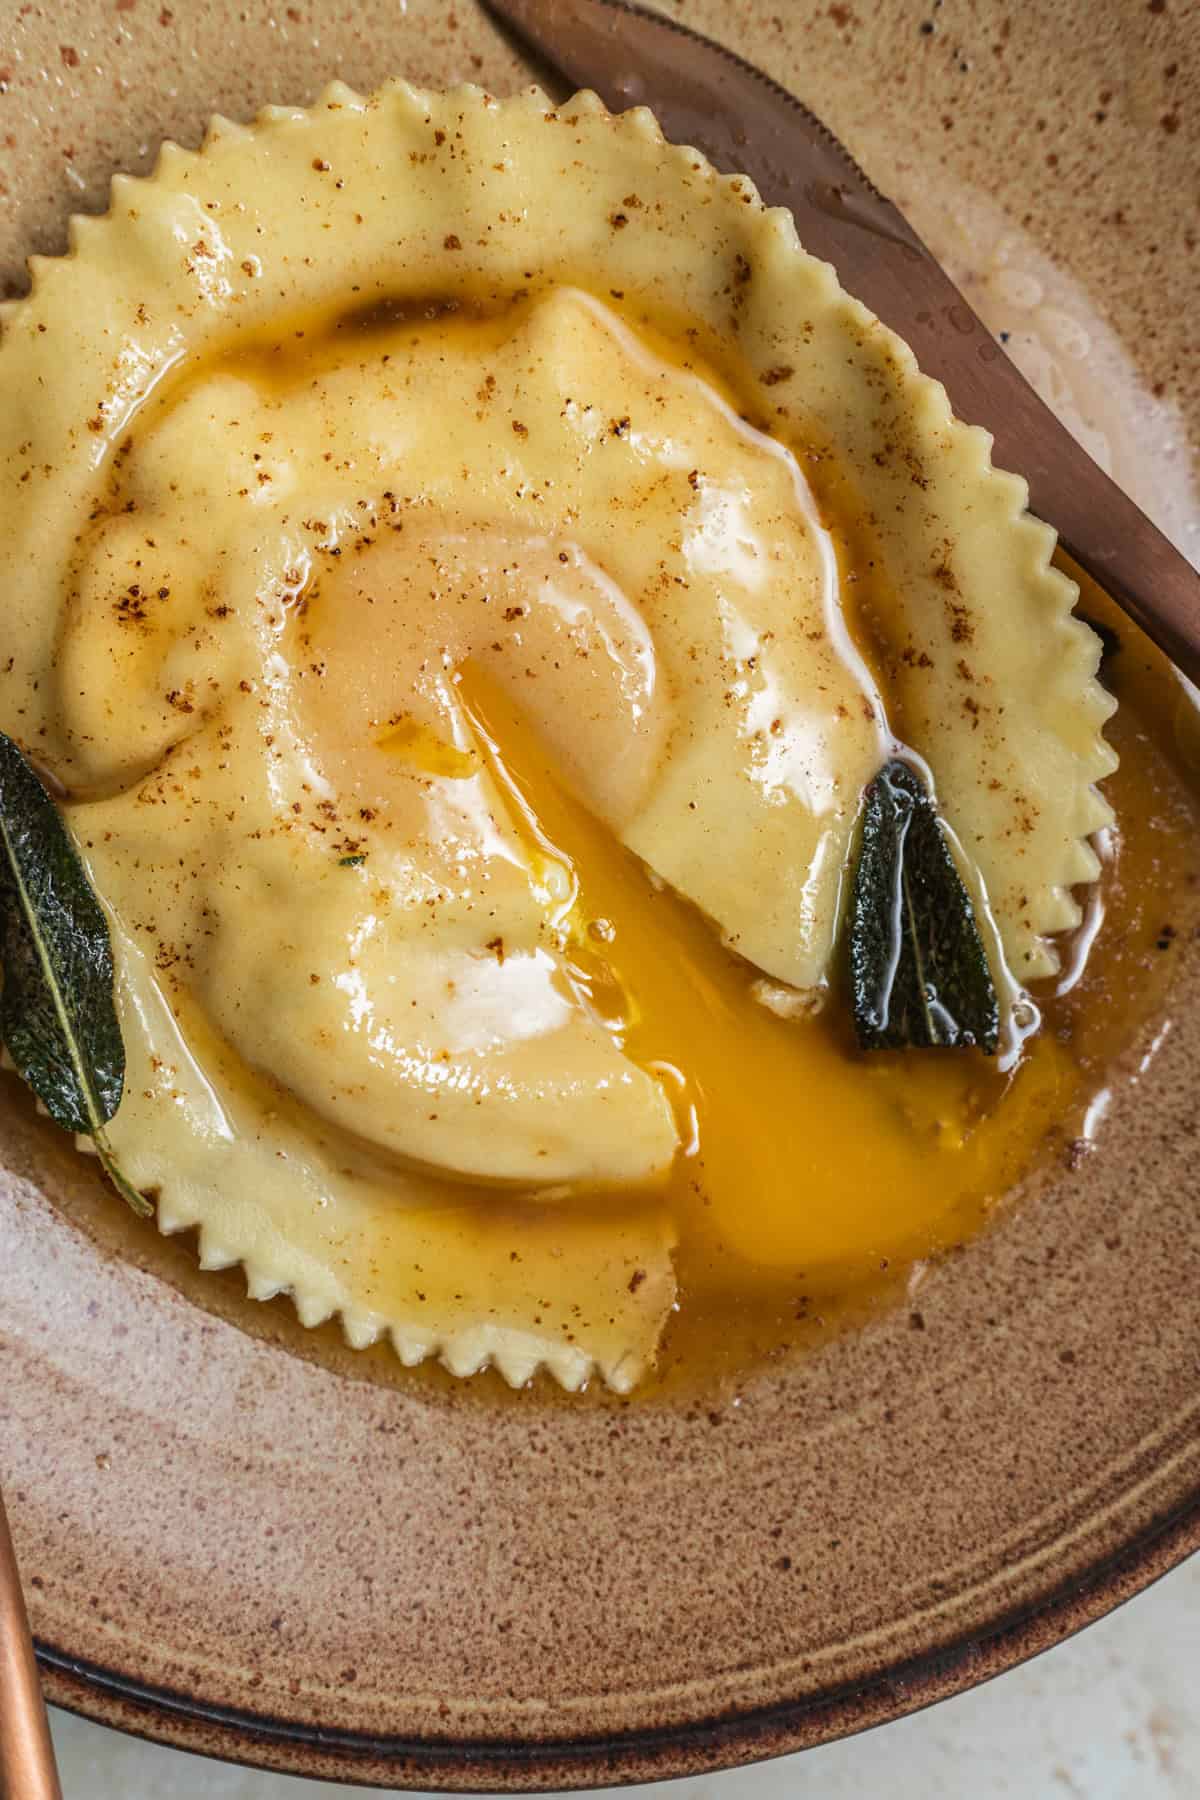
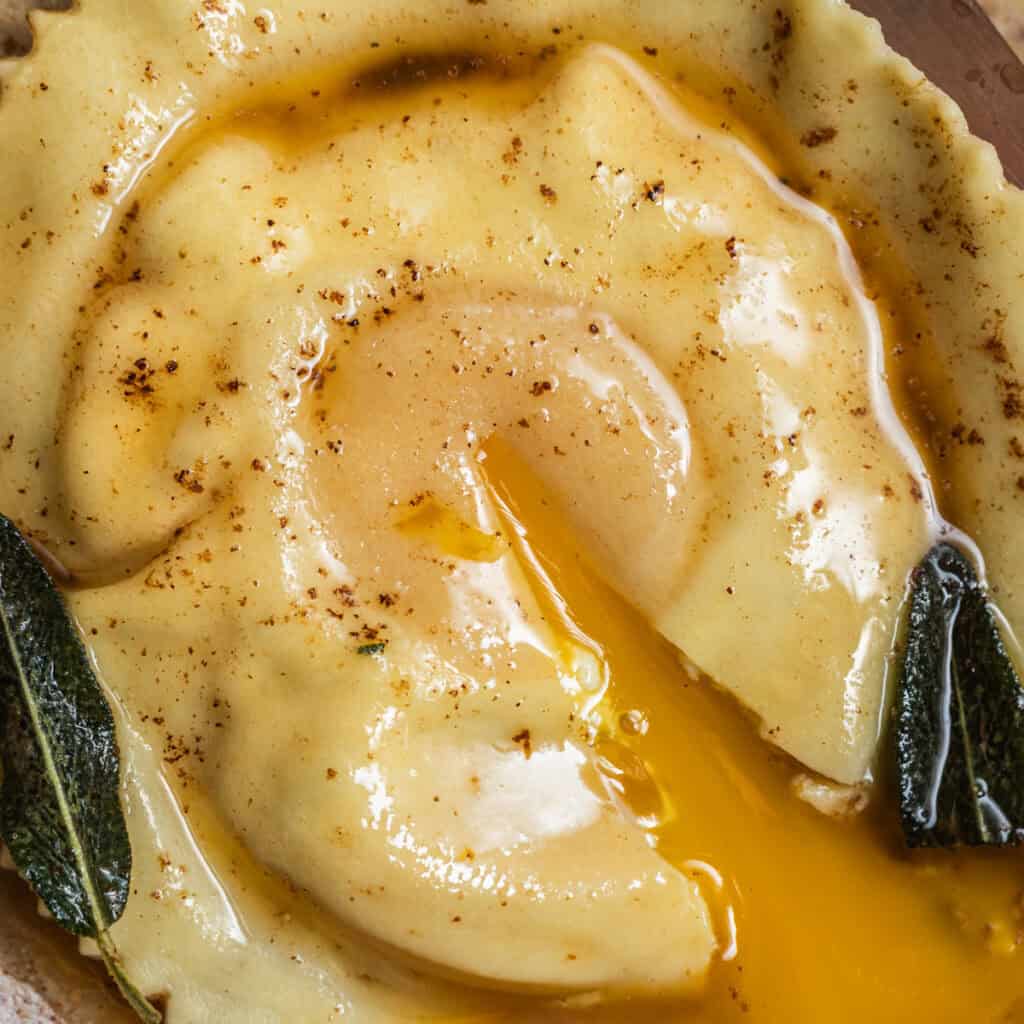
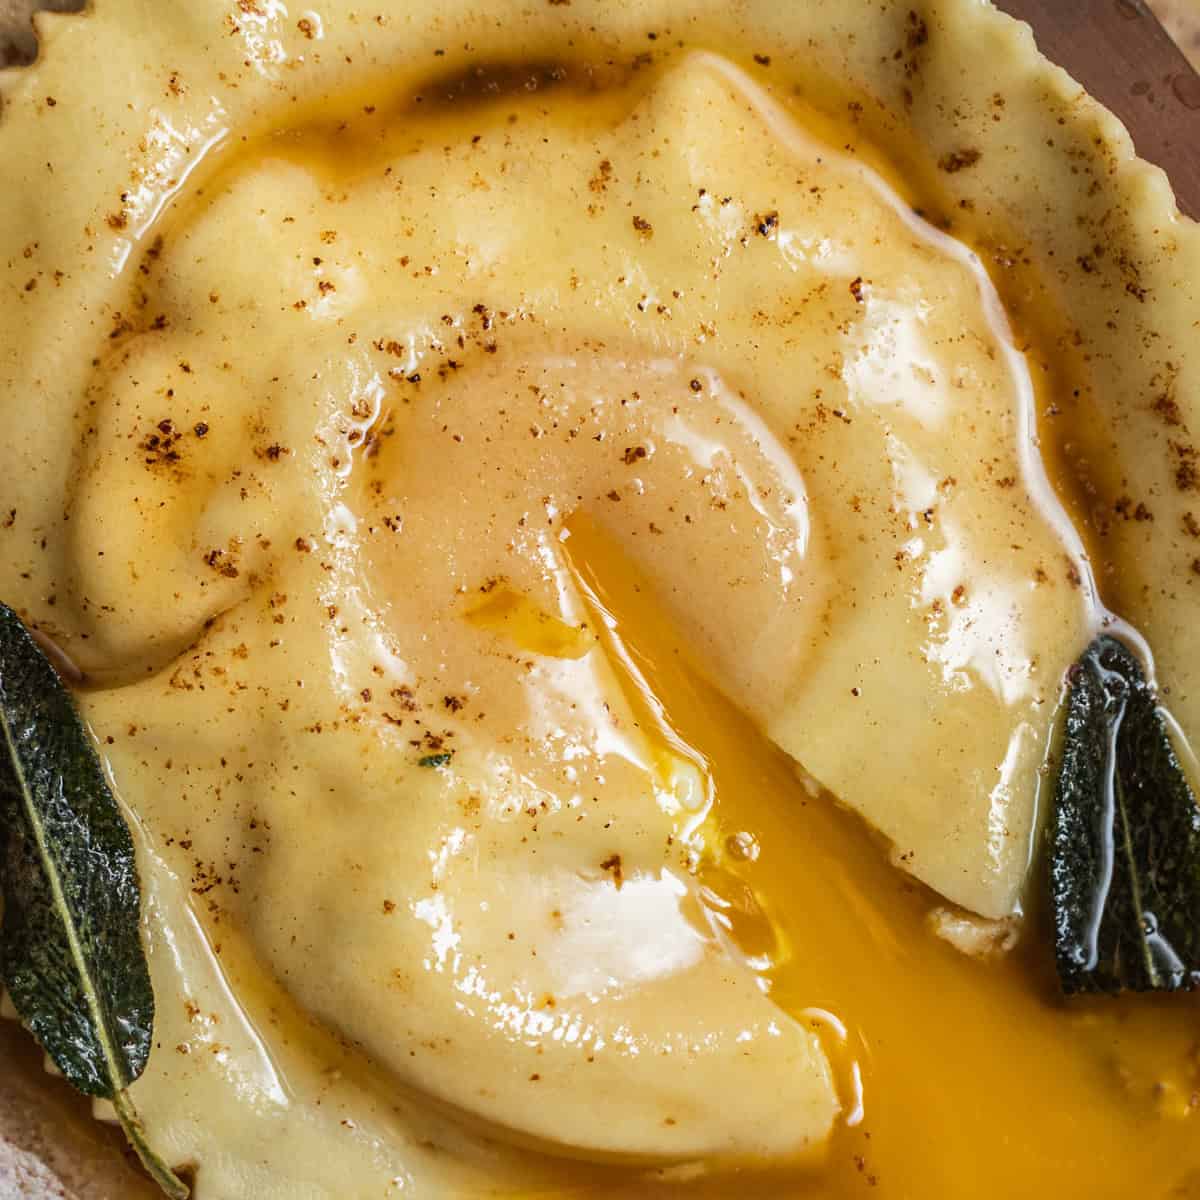
This decadent egg yolk ravioli recipe, or raviolo al uovo, features a large raviolo filled with a whole egg yolk cradled by a ring of creamy ricotta. Slice into this delicious homemade pasta, and you'll be rewarded by an oozing, runny yolk. A nutty brown butter sauce with crispy sage leaves brings this dish to the next level!
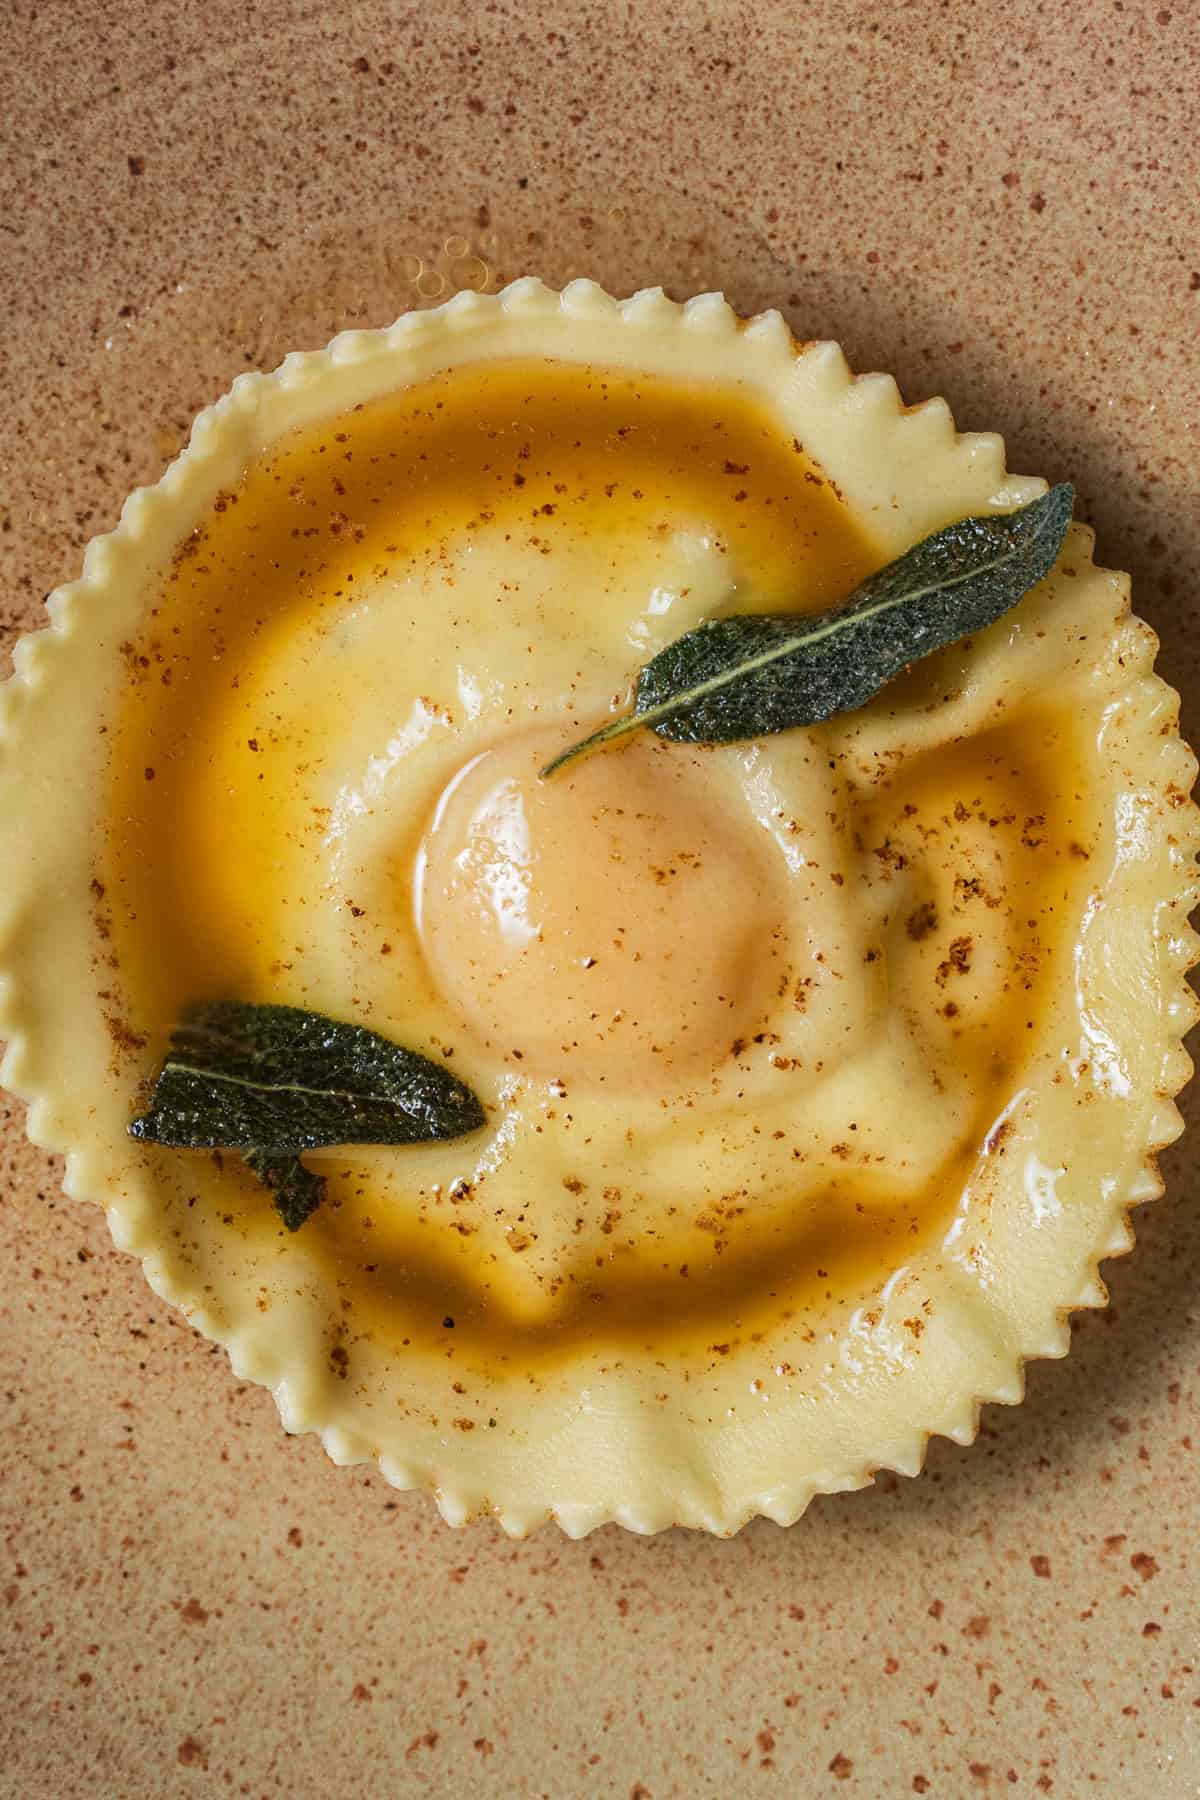
I once believed nothing could rival the pure perfection of a runny egg yolk. Then, I encountered uovo al raviolo, and it was like stepping into another world. I mean seriously! Could anything be better than delicate ravioli enveloping creamy egg yolks?!
For more homemade pasta recipes, try my malloreddus (gnocchetti sardi), ricotta gnocchi, or homemade pici pasta.
👩🏽🍳 Cook's Notes
- It's decadent and luxurious. Egg yolk ravioli is so delicate, with a melt-in-your-mouth texture and beautiful presentation. It's creamy and comforting, yet so impressive. Your taste buds will thank you!
- It's tried and true. My base Kitchenaid pasta dough is well-tested and easy to work with. I even had my husband test this recipe, and he thoroughly enjoyed it!
- It's absolutely doable for the home cook. I know this dish may seem intimidating, but don't worry, I'll walk you through the whole process, step-by-step.
A Quick History
- 'Raviolo al uovo' was invented in 1974 by chefs Nino Bergese and Valentino Marcattilii at Ristorante San Domenico in Imola, Italy.
- This dish became a global sensation, inspiring restaurants worldwide to offer similar creations, and was featured on Anthony Bourdain's No Reservations.
- Traditionally, it features a large raviolo filled with an egg yolk surrounded by ricotta and spinach filling, then served in a buttery pan sauce and garnished with truffles.
Ingredient Notes

There aren't a lot of ingredients in this recipe, so every individual component matters.
Homemade Pasta Dough: You'll need enough dough for 2 servings, which is a half-batch of my Kitchenaid pasta recipe. Make sure to keep the dough is well-rested and at room temperature.
Ricotta: It's really important to buy or make high-quality whole milk ricotta cheese. Good ricotta, like Calabro or Nonno Nanni is smooth, milky, and creamy, without a grainy texture.
Parmigiano-Reggiano Cheese: Buy a block of parmesan cheese and grate it yourself for the best flavor and texture. You can also use Pecorino Romano for a funkier flavor.
Eggs: The eggs are the star here, so I recommend local farm fresh eggs if you can find them! Otherwise, I love Happy Egg's eggs as well, which often feature bright orange yolks.
For a full list of ingredients and quantities, refer to the recipe card.
TIP: You want the ricotta to be moist, but not excessively liquidy. If it's very wet, you can drain it with paper towels or a cheesecloth.
How to drain ricotta: For paper towels, stack two sheets on a plate, spread ricotta evenly, top with another sheet, and press it down for a few seconds. Drain for 10 minutes, then transfer to a bowl. Or, add ricotta to a cheesecloth, gather the ends to form a pouch, and squeeze over the sink to remove excess liquid. Transfer drained ricotta to a bowl.
Equipment
- Pasta Maker: For an optimal texture, you will need very thin pasta sheets (setting 7 on a Kitchenaid roller or Marcato Atlas). As a result, you do need a pasta machine.
- Piping Bag: A piping bag (or large Ziploc bag) will help you achieve a nice ring of ricotta around the egg yolk.
- Cookie Cutter or Pastry Wheel: You will need a 4-inch round cutter or a pastry wheel to cut out circles or squares of ravioli.
How to Make Egg Yolk Ravioli
Prep

Step 1 - Roll out the pasta sheets: Start with a clean work surface. Divide your pasta dough into two equal portions. Set one half aside wrapped in plastic wrap.
Lightly flour your work surface to prevent sticking, then roll out the first portion of dough to a thickness of about ⅓ inch. Turn the dial on your roller attachment to setting '1' (the widest setting). Slowly and evenly feed the dough through the attachment.
After the initial feeding, the dough will naturally form an oval shape. To create a uniform rectangle, fold one end of the dough up halfway, then fold the other end on top, creating three even layers like an envelope. Roll the folded dough out again, this time to a thickness of about ¼ inch.
Increase the roller attachment setting to '2' and pass the dough through it twice. Continue increasing the setting until you've fed the sheet through setting '6'. Take a sharp knife and cut the sheet of dough in half. Carefully feed each half through the roller attachment at setting '7' one time.
Lightly flour both the work surface and the pasta sheets (Image 1), then cover them with a towel.
TIP: For a full set of step-by-step visual instructions on rolling out the dough, refer to my handy Kitchenaid pasta recipe.
Step 2 - Make the ravioli filling: In a food processor, combine ricotta, parmesan, and black pepper. Process until smooth and creamy (Image 2); if it appears dry, you can add a tablespoon or two of milk or cream to smooth it out.
Transfer the prepared ricotta mixture into a piping bag. Cut off about ½ inch from the tip of the bag to create an opening for piping.
Fill and Cut
Step 3 - Make the raviolo: Begin by cracking 8 eggs into a large bowl.
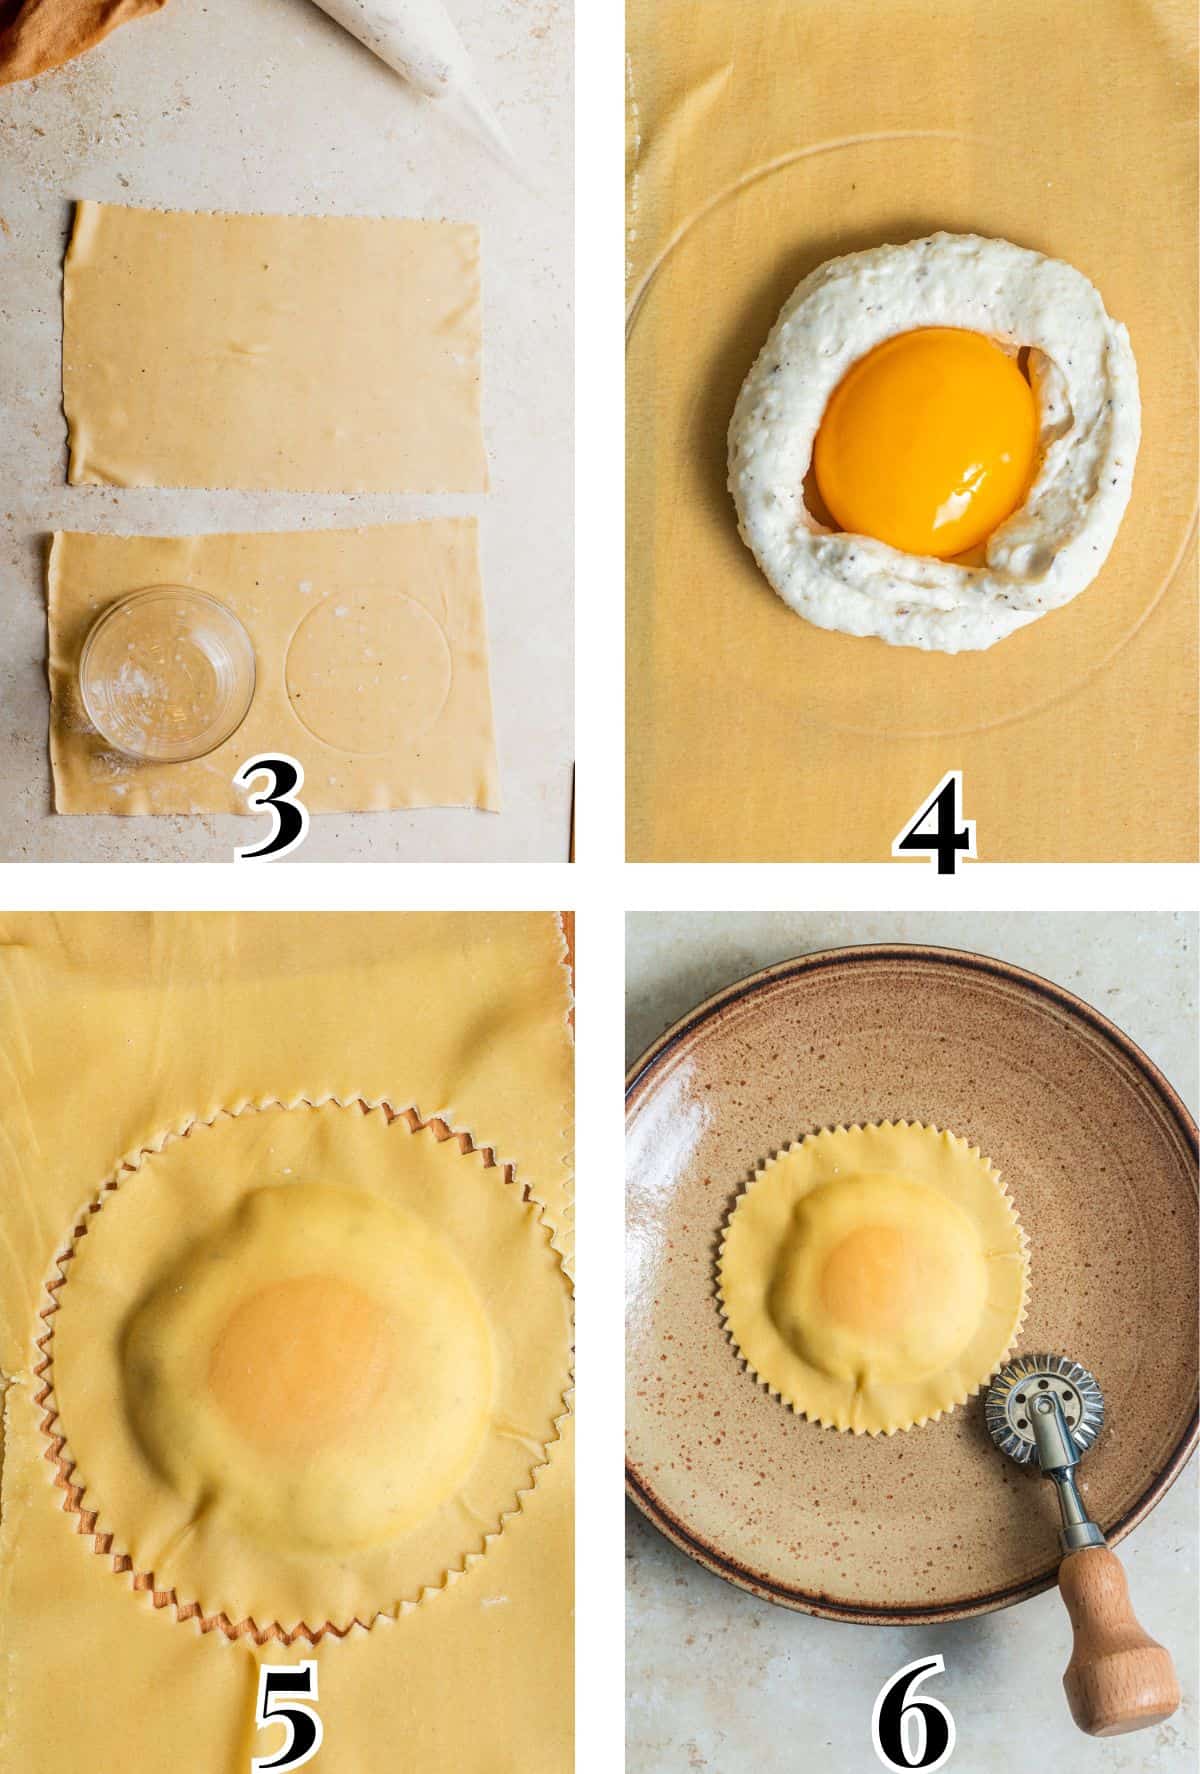
Mark the sheets: Uncover one of the pasta sheets. Place a 4-inch cutter or small prep bowl on the sheet to mark and outline (but not cut) 4 circles spaced at least 1-inch apart (Image 3). These marked circles will define the outer edges of your ravioli. Make sure the pasta sheet is nicely floured to prevent sticking.
TIP: For easier handling later on, consider cutting both sheets in half. This will give you a total of 4 sheets: 2 sheets with 2 marked circles each and 2 additional blank sheets.
Step 4 - Pipe and fill: Apply a firm and steady pressure to pipe a ¾-inch ring of ricotta about ½-inch from the edge of the circle. If necessary, pipe another ring directly on top of the first ring to ensure the nest is tall enough to securely hold the egg yolk.
Gently fish out an egg yolk with your fingers, letting any whites fall back into the bowl. Place the yolk in the center of the nest. Repeat the piping and filling process with the remaining 3 circles. (Image 4).
Step 5 - Form the ravioli: Take the empty sheet of pasta and gently position it over the filled sheet. Do not seal it yet.
Using a bowl that's roughly the same size as the ricotta ring (about 3.5 inches in diameter), move the bowl in a circular motion over the circle of ricotta to remove any excess air pockets. You can also use your fingers to press and seal any other openings in the sheet.
Step 6 - Cut: To finish, use the 4-inch cutter to cut out each individual raviolo.
Or, use the 4-inch bowl to mark the outline of each raviolo on the top sheet. Then, use a pastry wheel to carefully cut along the marked outline (Images 5 & 6). When using a pastry wheel, go very slowly and ensure the cutter is always held perpendicular to the sheet. Alternate between moving the cutter and rotating it around the circle to create a clean cut.
Repeat the rolling, filling, and cutting process with the remaining dough to make 8 total raviolos.
TIP: Keep a small bowl with a little water nearby to dip your fingers into in case the sheets start feeling dry. This will help ensure the pasta sheets stay pliable and seal together effectively.
Cook

Step 7 - Cook: Melt butter in a pan over medium heat. Add the sage and a generous grind of black pepper, and saute for 2 - 3 minutes until the butter starts foaming and hissing (Image 7), then subsides and develops a nutty aroma.
Immediately pour the butter into a bowl. Transfer the sage leaves to a paper towel to crisp up.
Bring a large pot of salted water to a gentle boil. Season generously, and cook each raviolo for 90 seconds. Cook each raviolo for 90 seconds.
TIP: If this is your first time making egg yolk ravioli, I recommend cooking them one at a time for better control. However, if you are more experienced, you can cook 2 to 3 ravioli at a time.
Step 8 - Serve: Over medium heat, add a little bit of the browned butter back into the skillet. I like to serve a couple of ravioli at a time to keep everything hot. Transfer them to the skillet with a small splash of pasta water.
Cook for about 30 seconds, or until the sauce begins to bubble. Use a slotted spoon to carefully transfer the ravioli to a serving plate, then continue to stir the skillet vigorously until the sauce thickens enough to coat the back of a spoon (Image 8).
Spoon a bit of the sauce on top of each raviolo and top with sage, black pepper, and cheese. Repeat with the remaining raviolo, and enjoy!
Storage and Make-Ahead Instructions
Storage: Store ravioli on a semolina-dusted baking sheet at room temperature for up to 2 hours, covered with a kitchen towel.
Make-Ahead: Unfortunately, this type of ravioli is too delicate to refrigerate, freeze, or fully prepare in advance. However, you can make prepare components ahead of time.
The ricotta filling can be made 1 - 2 days in advance and stored in an airtight container in the fridge. Allow to thaw at room temperature for 30 minutes before piping.
The brown butter sauce can also be made 3 - 4 days in advance stored in the fridge. Just before serving, reheat on the stove, add and crisp the sage leaves, and proceed with the rest of the recipe.
Expert Tips
Keep a well-floured surface. There is nothing than worse than trying to salvage a raviolo that's stuck to your countertop or cutting board. Because this pasta is quite thin, I always make sure to flour the sheets every few minutes while rolling, filling, and cutting.
Be gentle. Egg yolks are delicate, so be gentle when adding them to the pasta, cooking them, and tossing them in sauce. When cooking, I highly recommend using a slotted spoon or spider to prevent the yolks from breaking.
Enlist a friend or family member. Having a friend or family member join in makes pasta-making more enjoyable and allows for efficient multitasking. Moreover, the real advantage comes when it's time to assemble the ravioli. For example, each of you can hold and align each end of the top pasta sheet to the bottom sheet. This provides excellent control and precision when pressing and sealing the ravioli.
Recipe FAQs
The secret to the best ravioli is to use *very* thin pasta sheets. This ensures that restaurant-quality melt-in-your-mouth texture!
First, be gentle any time you're handling your egg yolks. But more importantly, make sure the ravioli are very well sealed. If you need to, dip your finger in water and run it along the edges of the sheet before sealing to ensure they're airtight.
No, unfortunately these ravioli are too delicate to freeze.
Did you try this recipe?
I would love to hear your feedback! Be sure to rate the recipe and leave a comment below.
For even more cozy recipes, be sure to subscribe to my newsletter.

Egg Yolk Ravioli (Raviolo al Uovo)
Equipment
- Pasta Machine, such as a Kitchenaid Pasta Roller or Marcato Atlas 150
Ingredients
For the ravioli:
- 1 cup whole milk ricotta cheese, homemade or store-bought | use 1 ½ cups if excessively watery and strain*
- 1 cup finely grated Parmigiano-Reggiano cheese
- 1 teaspoon freshly ground black pepper
- Salt, to taste
- ½ batch homemade pasta dough, ~290g dough
- 00 flour or semolina flour, for dusting
- 8 large eggs
For the sauce
- 1 ½ sticks unsalted butter
- 10 large sage leaves
- Salt and black pepper, to taste
- Finely grated Parmigiano-Reggiano cheese, for topping
Instructions
For the ravioli:
- Prepare the filling: In a food processor, pulse 1 cup whole milk ricotta cheese, 1 cup finely grated Parmigiano-Reggiano cheese, and 1 teaspoon freshly ground black pepper until smooth and creamy. Season to taste with salt.Transfer the prepared ricotta mixture into a piping bag. Cut off about ½ inch from the tip of the bag to create an opening for piping. Set aside. Note: If the filling seems dry at all, you can add 1 tablespoon of water, milk, or cream to smooth it out.
- Roll out the pasta: Divide ½ batch homemade pasta dough into two equal portions, setting one half aside and wrapping it in plastic wrap.Lightly flour your work surface to prevent sticking, then roll out the first portion of dough to a thickness of about ⅓ inch. Turn the dial on your roller attachment to the widest setting, '1'. Slowly and evenly feed the dough through the attachment.After the initial feeding, the dough will naturally form an oval shape. To create a uniform rectangle, fold one end of the dough up halfway, then fold the other end on top, creating three even layers like an envelope. Roll the folded dough out again, this time to a thickness of about ¼ inch.Increase the roller attachment setting to '2' and pass the dough through it twice. Continue increasing the setting until you've fed the sheet through setting '6'. Take a sharp knife and cut the sheet of dough in half. Carefully feed each half through the roller attachment at setting '7' one time. Lightly flour the pasta sheets and the work surface with 00 flour or semolina flour.Repeat, rolling and cutting the remaining dough so that you now have 4 pasta sheets. Keep covered.
- Prepare the egg yolks: Crack 8 large eggs into a large bowl.
- Mark the sheets: Uncover one of the four pasta sheets. Place a 4-inch cutter or small prep bowl on the sheet to mark and outline (but not cut) 4 circles spaced at least 1-inch apart. These marked circles will define the outer edges of your ravioli. Ensure the pasta sheet is nicely floured to prevent sticking.
- Pipe and fill: Apply a firm and steady pressure to pipe a ¾-inch ring of ricotta about ½-inch from the edge of the circle. If necessary, pipe another ring directly on top of the first ring to ensure the nest is tall enough to securely hold the egg yolk.Gently fish out an egg yolk with your fingers, letting any whites fall back into the bowl. Transfer yolk to a small glass bowl, then gently pour the yolk into the center of the nest.Repeat the piping and filling process with the remaining 3 circles.
- Form the ravioli: Take an empty sheet of pasta and gently position it over the filled sheet without sealing it.Gently press around the ricotta ring with a small bowl (about 3.5 inches in diameter) to remove air pockets.
- Cut with a cutter: Use a 4-inch cookie or biscuit cutter to cut out each individual raviolo.Cut with a pastry wheel: Or, use the 4-inch bowl to mark the outline of each raviolo on the top sheet. Then, use a pastry wheel to carefully cut along the marked outline. When using a pastry wheel, go very slowly and ensure the cutter is held perpendicular to the sheet. Alternate between moving the cutter and rotating it around the circle to create a clean cut. Ensure they're completely sealed, before transferring to a parchment-lined baking sheet generously dusted with semolina flour. Repeat the filling and cutting process with the remaining dough to make 8 total raviolos. Note: Leftover egg whites can be reserved for another use.
For the sauce:
- Bring a large pot of salted water to a gentle boil.
- Make the brown butter: Meanwhile, set a large skillet over medium heat and melt 1 ½ sticks unsalted butter. Add 10 large sage leaves and a generous grind of black pepper, and saute for 2 - 3 minutes until the butter starts foaming and hissing, then subsides and develops a nutty aroma. Immediately pour the butter into a small bowl, and season to taste. Transfer sage leaves to a paper towel to crisp up.
- Cook the ravioli: If this is your first time making uovo raviolo, I recommend cooking one at a time; otherwise, you can cook and serve 2 - 3 at a time.Drop the raviolo(s) into the pot of boiling water, and cook for 90 seconds.Meanwhile, set the skillet back over medium heat with a bit of butter (I like 1 tablespoon per raviolo) and a small splash of pasta water. Carefully transfer raviolo(s) to the skillet with a slotted spoon.Saute for an additional 30 seconds, then transfer to a serving plate. Continue cooking and reducing the sauce until it's thick enough to coat the back of a spoon. Spoon the sauce over the ravioli, and garnish with crispy sage and a sprinkle of Finely grated Parmigiano-Reggiano cheese. Serve immediately.
- Repeat the cooking process with the remaining ravioli as you boil, sauce, and serve them. Enjoy!
Video

Notes
Nutrition
The nutritional information on this website is only an estimate and is provided for convenience and as a courtesy only. The accuracy of the nutritional information for any recipe on this site is not guaranteed.


These were so yummy. Even though I knew there was a yolk inside. I couldn’t believe it when I bit into this ravioli and enjoyed the runny yolk.
The yolk is such a fun and tasty surprise! So glad you liked it.
This was a next-level recipe. It’s definitely a project but worth the effort. The bites were luxurious and full of flavor. One of the top bites of 2023 for me.
It's a labor of love, for sure! So glad you enjoyed 🙂