
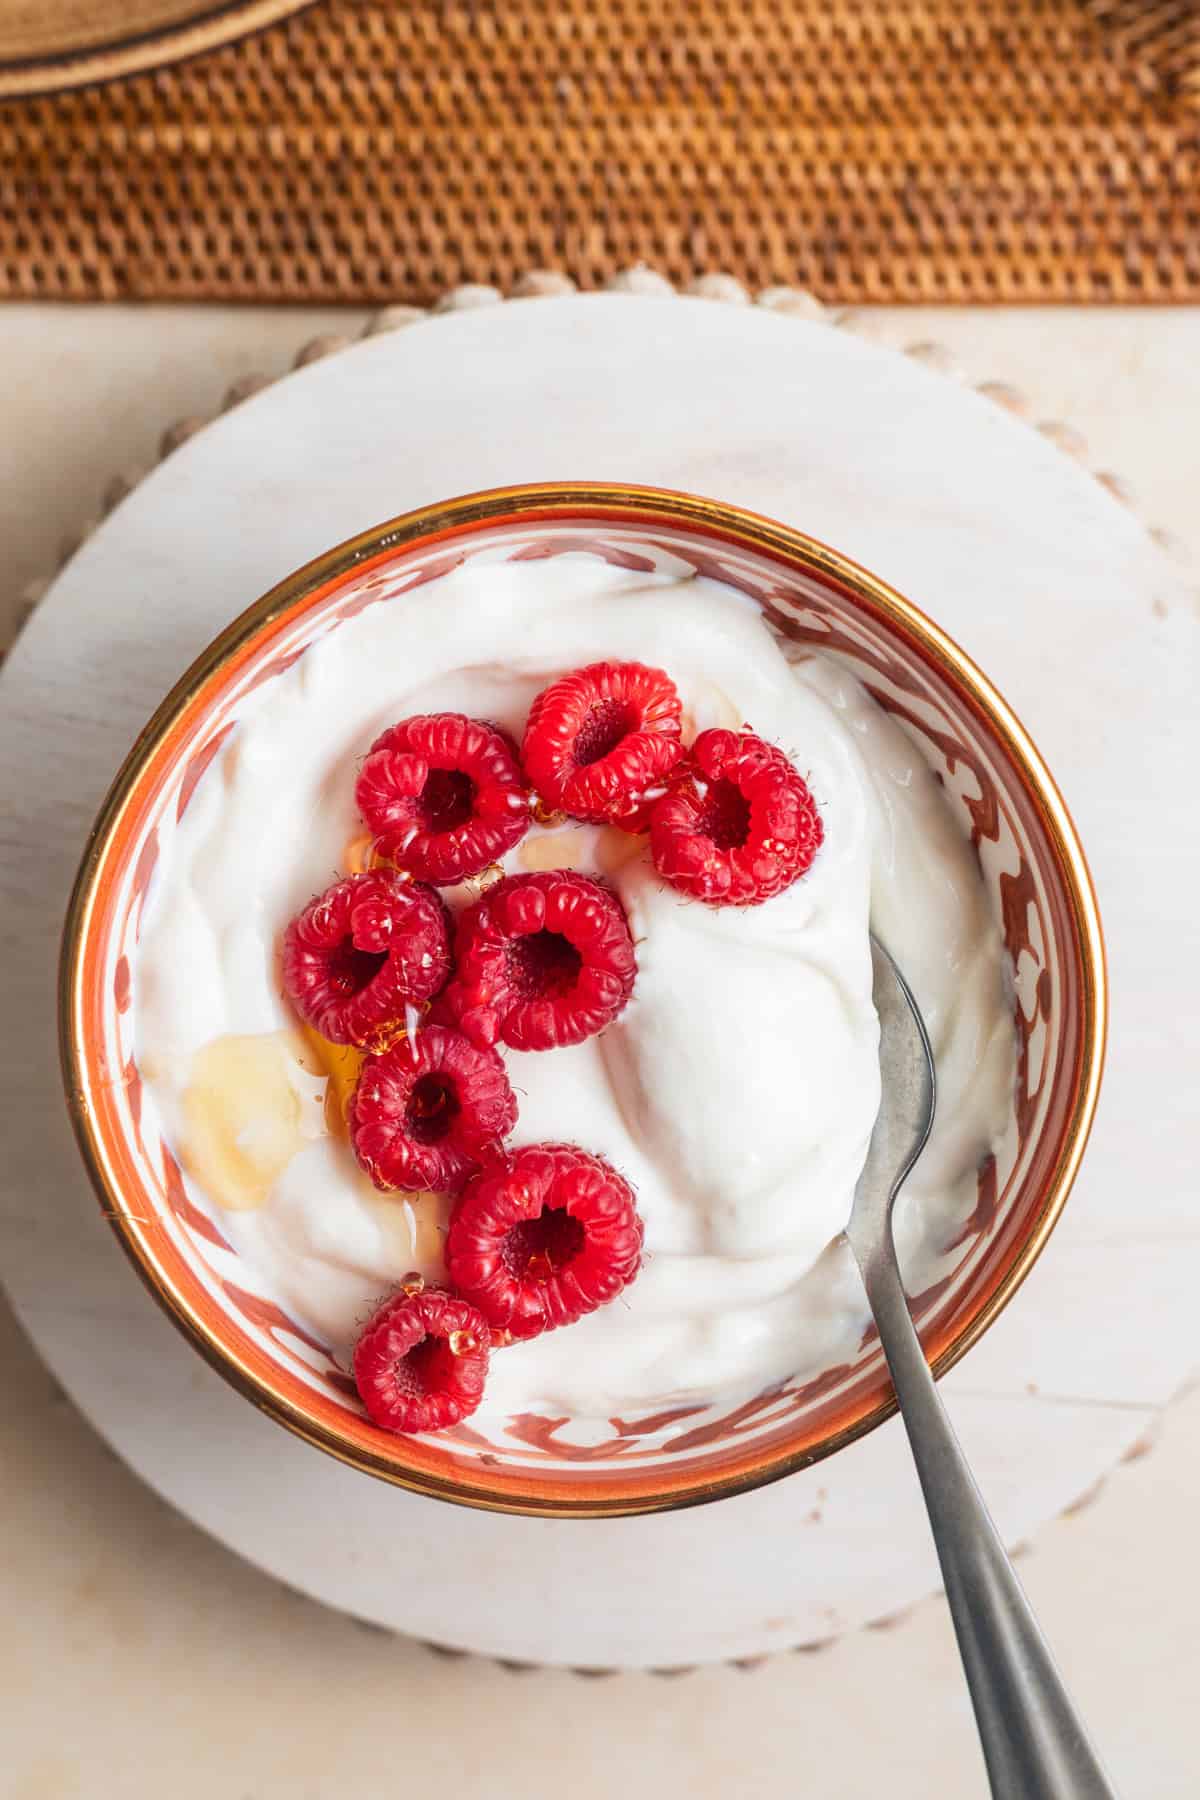
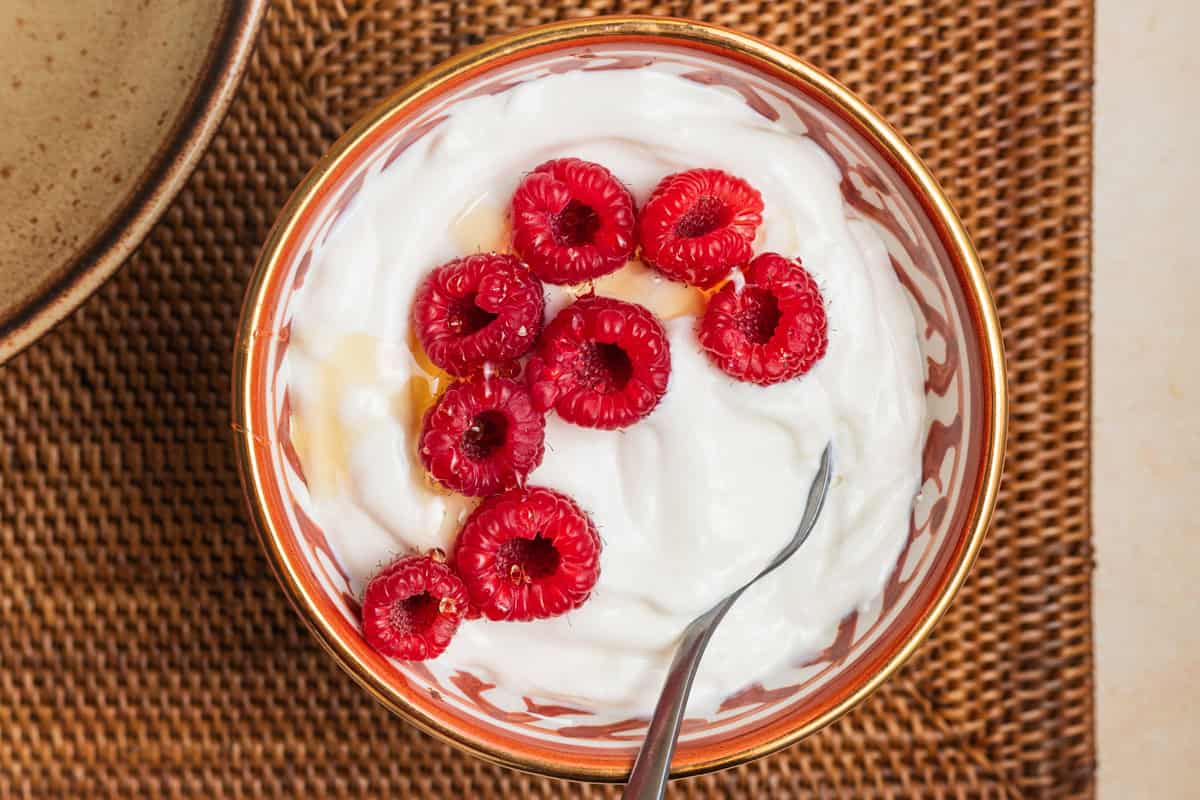
This homemade Greek yogurt recipe is luxuriously thick, creamy, and far simpler than you might think. With a bit of milk and a spoonful of starter, you’ll set off a gentle fermentation that transforms it into something impossibly luscious and beautifully rich. It’s mostly hands-off and deeply satisfying; once you try it, there’s no going back.
Growing up in a South Asian household, I’ve eaten a LOT of yogurt in my life, from my grandmother’s homemade Indian dahi to store-bought Yoplait to artisan Greek varieties. As a true yogurt fiend, I can’t believe it took me so long to try making it from scratch.
It’s so much easier than I expected and, honestly, pretty fun. I use it in everything from dips, like my Greek tzatziki, to marinades, like my mushroom biryani, yogurt bowls, and even savory breakfasts, such as Çilbir! For more ideas, see my full list of Greek yogurt recipes!
👩🏽🍳 Tips for Success
I first came across the recipe in Camille Becerra’s Bright Cooking, and I truly could not believe how easy it was. She graciously permitted me to share it with you, and I’m so excited to do just that!
- Try your favorite starter: Your yogurt will undoubtedly taste like the starter you use, so make sure it’s one you really like!
- Use a thermometer: It ensures precise results and reduces the risk of failure.
- Strain your milk: Straining the heated milk ensures the smoothest possible texture.
- Make it your own: Play around with temperature and time to control the thickness and flavor of your yogurt.
For more scratch-made dairy recipes, try my homemade whole milk ricotta cheese, crème fraîche, or cultured butter.
Ingredient Notes

Whole Milk: You’ll need a half gallon of milk, yielding about 1 quart of yogurt. Look for a good-quality milk that’s as fresh as possible.
Plain Yogurt: After heating the milk, add a “yogurt starter (aka a bit of yogurt),” which provides the bacteria to help ferment the dairy. The easiest option is to use your favorite store-bought variety, but you can also add a starter of dried yogurt.
P.S. Once you make your own Greek yogurt, you can use some of it for your next batch! However, after several batches, you’ll need to use store-bought yogurt again (or a dried starter) as the starter cultures weaken over time.
For a full list of ingredients and quantities, refer to the recipe card.
Special Equipment

Essentials
- You’ll need a cooking thermometer/candy thermometer. Yogurt is very temperature sensitive, so it’s important to get an accurate measurement.
- For Greek yogurt, make sure you have a large fine-mesh sieve and a large cheesecloth (or a very thin kitchen towel).
Optional
We’ll incubate the yogurt in the oven and use the oven light as an added heat source to maintain the temperature. If you have a ‘Bread Proofing’ setting, I recommend using it.
- Do note that if the temperature is closer to 110°F, as with the Instant Pot setting, the incubation time will be much shorter, around 8 hours.
- For better temperature control, you can use a yogurt maker (if you have one) or an Instant Pot after boiling and cooling the milk.
The Science of Yogurt Making
Before we go any further, it’s worth taking a step back and understanding what is happening in the yogurt-making process.
According to Diane K Smith, an Associate Professor at WSU and a nutritional specialist, “Yogurt forms when bacteria ferment the milk sugar, known as lactose, into lactic acid. The lactic acid makes the milk more acidic (lower pH), causing the proteins to coagulate.”
So, the acid is responsible for causing that creamy texture we all know and love.
From Milk to Greek Yogurt
Now, there are three essential steps to turn milk into Greek yogurt.
- First, you heat the milk to 180°F. This step ensures the milk has been properly pasteurized to kill harmful bacteria. That means those good bacterial cultures can thrive without competition and lower the likelihood of spoilage.
- The other benefit? According to On Food and Cooking, “It denatures the whey proteins to some extent, unfolding the initially compact molecules into longer structures that increase the viscosity – thicken the texture – of the liquid.” The result is a thicker, creamier texture.
- Step number two is to cool the dairy to 110°F. That’s the ideal temperature for these yogurt-making bacteria. Once cooled, add your yogurt starter to the warm milk, then keep it at that temperature for several hours so the live cultures can do their magic.
- So, what’s happening during step 2? These beneficial bacteria consume some of the lactose in milk and convert it into lactic acid.
- The lactic acid byproduct makes the yogurt more acidic, which causes the proteins to coagulate and thicken. This is what gives yogurt its tangy flavor and texture.
- For the final step, strain the yogurt for several hours to remove excess water and form a thicker consistency. Now you have Greek yogurt.
The Importance of Temperature and Time
Once you get the hang of things, you can play around with temperature and time to adjust the flavor and texture of your yogurt to your liking.
Let’s talk temperature first. The base recipe requires you to heat the milk to 180°F before cooling it down. But what if the milk stays at 180°F for several minutes? Alternatively, what happens if you increase the temperature a bit, say, to 195°F?
It turns out both methods will yield a thicker and creamier texture. It’s a great tip you can use to experiment and produce your dream yogurt in the next batch!
And what about time? Well, the longer the incubation period, the more lactic acid will be produced and the tangier the flavor. This is a similar concept to pizza-making, specifically the science of cold fermentation! Do not incubate any longer than 24 hours for safety reasons.
How to Make This Recipe
Before you go ahead and start this process, make sure you thoroughly clean all equipment!

SStep 1 – In a heavy-bottomed large pot, like a Dutch oven, add milk. Attach or insert a thermometer to measure the temperature (Image 1). Set over low heat, and warm, stirring occasionally, until the temperature reaches 180°F and the milk is steaming. (Image 2).
Expert Tip
Sometimes the milk can scorch on the bottom of the pot, or a skin can form. A heavy-bottomed pot can prevent this, but it can still happen! If it does, don’t worry. As long as it tastes fine, just strain the milk, transfer it to a clean container, and incubate.
Step 2 – Remove from the heat and let the milk cool to 108°F. You can speed up the process by placing the pot in an ice bath (Image 3).
Step 3 – In a small bowl or measuring cup, stir about ¼ cup of the milk into the yogurt, then whisk everything back into the milk (Images 4 & 5).

Step 4 – Transfer the milk to a large bowl with a lid (Images 6 & 7). Place in the oven with just the oven light on for 8 – 12 hours. After this time, the the yogurt should have a firmer, gel-like consistency (Image 8). You can continue incubating for a tangier texture (up to 24 hours total) or proceed to making Greek yogurt.

Step 5 – At this point, your yogurt is done setting! You can chill and enjoy as is, or strain further to make Greek yogurt.
Line a cheesecloth over a fine-mesh strainer set over a bowl. Carefully pour the yogurt mixture into the cheesecloth and cover (Image 9). Place in the fridge for several hours until it reaches your desired consistency (Image 10).
For an even thicker yogurt (or labneh), strain for up to 1 more day. Store in an airtight container for 1 – 2 weeks. Enjoy!
Recipe FAQs
Yes, you can make yogurt with raw milk, but you’ll need to heat it properly before cooling to 110°F to reduce the risk of harmful bacteria. Raw milk yogurt may have a thinner consistency, so try at your own risk!
For a creamier yogurt, make sure the milk reaches 180°F and hold it there for 5 – 10 minutes before cooling. For a thickened texture, like Greek yogurt, you’ll want to strain it afterward for several hours.
Assuming you strained the milk before incubating, this can happen if the milk ferments at too high a temperature (typically closer to 115°F) or over-ferments. UHT milk can also produce a slightly grainier consistency.
As the temperature cools, the active cultures will enter a “dormancy” state, and the fermentation process slows down and eventually stops. Once you consume the yogurt, given that your body temperature is 98.6°F, they will become active again. Pretty cool, right?
The leftover whey (the yellow-ish liquid at the bottom of the bowl) can be saved for smoothies, broths, and other drinks, so don’t feel the need to discard it! For more ideas, check out this post.
Did you try this recipe?
I would love to hear your feedback! Be sure to rate the recipe and leave a comment below.

Homemade Greek Yogurt
Equipment
- Cooking thermometer, or Candy Thermometer
Ingredients
- ½ gallon whole milk*
- ¼ cup plain unsweetened yogurt (or plain unsweetened Greek yogurt), use one that you love, as long as it has live active cultures
Instructions
- Before starting, make sure all equipment is thoroughly cleaned to prevent spoilage.
- Heat the milk: Add ½ gallon whole milk* to a large Dutch oven or heavy-bottomed pot. Set over low heat until the temperature reaches 180°F (82°C), about 15 – 20 minutes. Stir every few minutes to ensure even heating and prevent a skin from forming on the milk.
- Cool: Remove from the heat, and strain through a fine mesh sieve into a large bowl. Cool the milk to 108°F (42°C), stirring occasionally. This process can take as long as an hour, but you can speed it up by placing the bowl into an ice bath, which should take just a few minutes.
- Add the yogurt: In a small bowl, whisk ¼ cup plain unsweetened yogurt (or plain unsweetened Greek yogurt) with ¼ cup of the cooled milk until smooth. Add the yogurt mixture into the bowl, and whisk until well-combined.
- Incubate: Cover the bowl and place it in the oven with the oven light on for 8 – 12 hours. Note: The ideal temperature of the yogurt should be around 100°F (37°C) – 110°F (37°C). Using just the oven light can keep the yogurt around this temperature, however, it's not completely foolproof. If you have an oven setting in this temperature range (i.e. 'Bread Proofing'), you can keep it on at that setting for a more consistent temperature! See my blog post for tips on using a Yogurt Maker or Instant Pot.
- Check consistency: At this point, the yogurt should have a firmer, jelly-like consistency. You can check the consistency by gently tilting the bowl. The yogurt should hold its shape and not run.If desired, you can incubate for an additional 12 – 16 hours (up to 24 hours total) for a tangier texture. Otherwise, proceed to the next step. Note: If the yogurt is still completely liquid after 12 hours, the starter may have been inactive or the incubation temperature was too low. For safety, discard and start fresh with new starter and ensure the milk is held between 100°F – 110°F during incubation.
- Strain: At this point, the yogurt can be chilled and enjoyed as is. For Greek yogurt, line a fine mesh sieve with a large piece of cheesecloth and set it over a large bowl. Carefully scoop and transfer the yogurt into the cheesecloth and strain for 5 – 8 hours in the fridge, or until it's reached your desired consistency. Note: If you'd like to make more yogurt in the future, set aside ¼ cup plain (pre-strained) yogurt to keep as your starter. Store in the fridge in an airtight container.
- Finish: Transfer the strained yogurt to a clean, airtight container, and chill in the fridge completely before serving. Store in the fridge for 1 – 2 weeks. Enjoy!
Notes
Nutrition
The nutritional information on this website is only an estimate and is provided for convenience and as a courtesy only. The accuracy of the nutritional information for any recipe on this site is not guaranteed.


How long will this stay good in the refrigerator?
Hi Maxine,
It should stay good for up to 2 weeks!
Owner’s Review: Making Greek yogurt at home has been a game-changer! It’s smooth, creamy, and so much easier than I expected with this method.