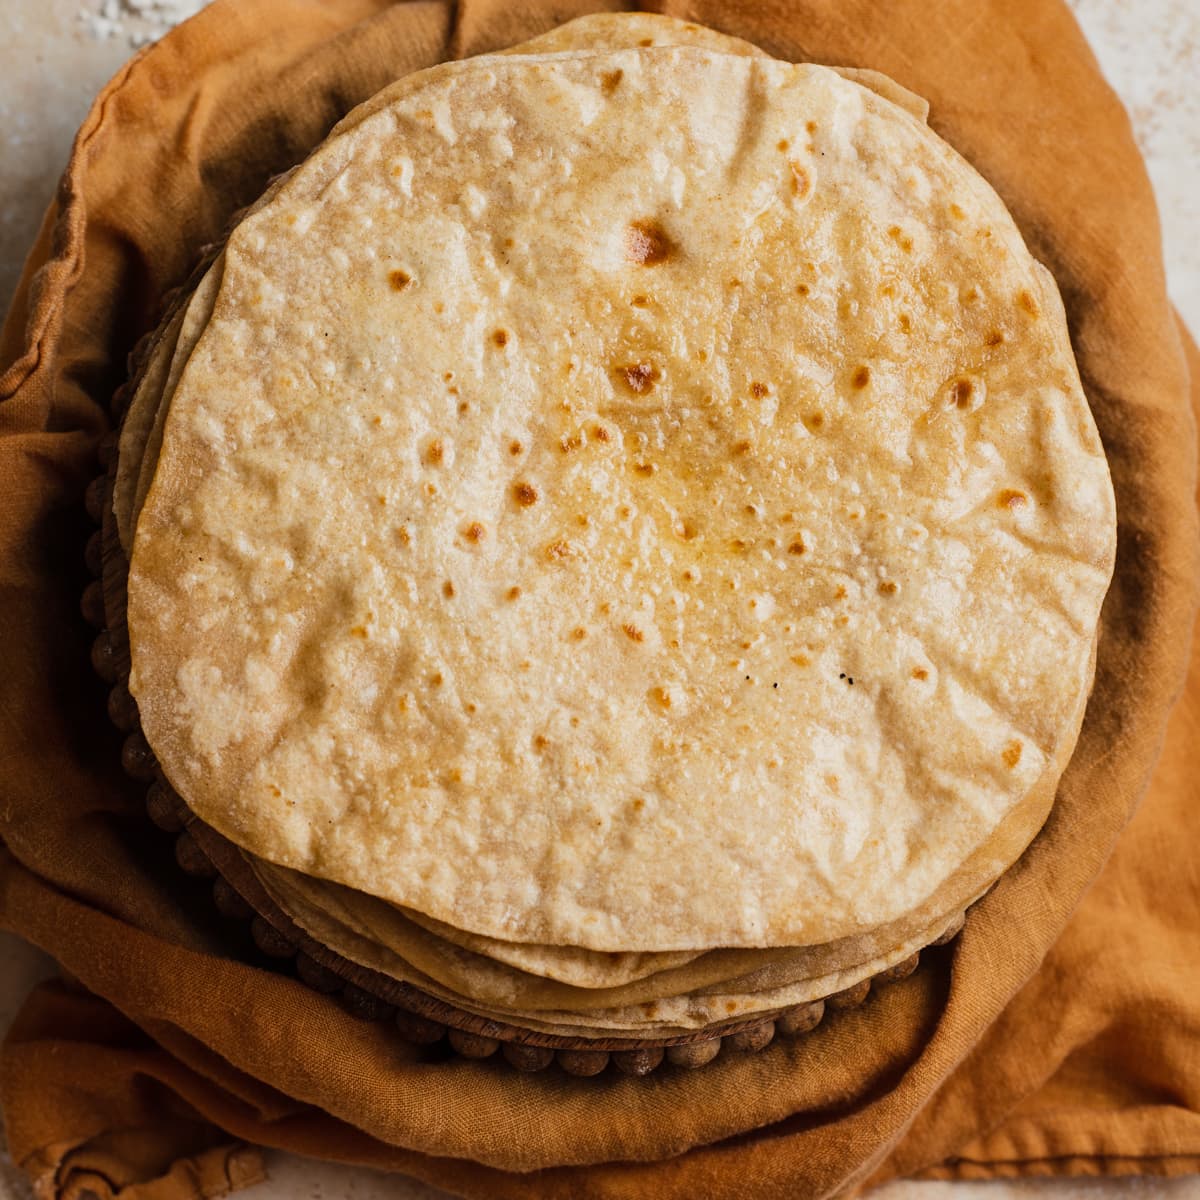
You’re going to love this soft chapati recipe! This traditional Indian flatbread recipe was passed down from my grandmother to my mother and is made from whole-wheat flour (atta), water, and oil, then cooked over a hot griddle. Plus, I’ve got tons of tips and tricks to make these as foolproof as possible!

In the years since I’ve published this recipe, it’s been a huge reader hit.
James wrote, “The very best recipe and instructions that I have come across. I have made these chapatis several times now. One cannot stress enough that atta flour is needed for the best results! ★★★★★”
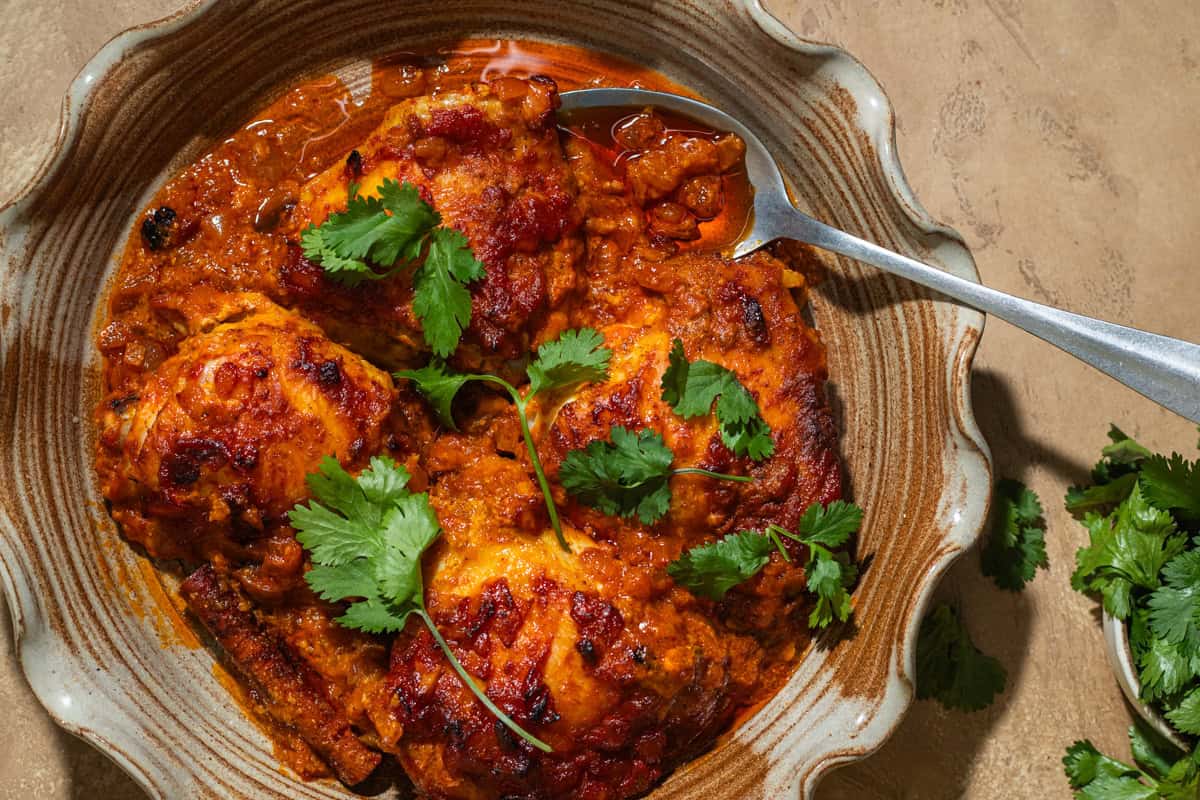
Serve with paneer butter masala, masoor dal tadka, and peas pulao for the perfect meal!
Ingredient Notes

Atta Flour: Atta is a type of Indian wheat flour ground in stone mills called chakkis. Chakkis are two pieces of stones used to grind flour. The grinding process damages the starches in the flour due to excess friction and heat.
As a result, atta flour has significantly more starch damage (what is damaged starch?) than a typical whole-wheat flour. The additional heat colors the flour and changes the flavor (it tastes toastier!).
Purchasing Tips: You can purchase atta (aka chapati flour) online or in an Indian store. I like Sujata brand, but it often comes in larger (10 pound) bags, so an Indian store or a specialty international shop (Christina’s in Cambridge, MA also offers delivery) is your best bet for smaller amounts.
Substitutions: The unique properties of atta are difficult to replace with standard whole-wheat flour. In a pinch, you can substitute atta with a 50/50 mix of white whole-wheat flour and all-purpose flour, but the texture of this chapati recipe will be slightly denser.
Oil: We add a bit of oil to the bread dough to soften the final texture. Use a neutral oil like canola, safflower, or peanut oil.
For a full list of ingredients and quantities, refer to the recipe card.
How to Make This Recipe
Make and Knead the Dough

Steps 1 – 3: Make the dough. Add flour to a large bowl and form a well in the center of the bowl. Pour in hot water and oil, then mix the ingredients until a shaggy dough forms (See Images 1 – 3).
TIP: Using hot water reduces kneading time, rest time, and hydration time. It also leads to a softer dough.
Knead, Rest, and Form the Dough Balls

Steps 4 – 5: Knead the dough on a cutting board or clean work surface. To knead the dough, I recommend alternating between an Indian-style kneading process (Image 4) and a traditional breadmaking kneading process, where you stretch and rotate the dough (Image 5).
For the Indian-style kneading process, punch and knead your knuckles into the dough (you should see knuckle marks all over the dough), then fold, stretch, and rotate the dough using the traditional process.
The kneading process should take you about 4 – 5 minutes, and the end result should be a fairly smooth, soft dough (Image 6). Do not over-knead, as that can lead to a chewy texture.
TIP: You may need more water depending on humidity levels. If the dough feels a bit stiff or dry, you can wet your hands while kneading.
Step 6: Let the dough rest, covered, for at least 20 minutes. This process, called autolyse, hydrates the dough and relaxes the gluten so it will be easier to work with. After resting, the dough should be very soft and smooth.
Note: If you notice the dough has cracks/crevices or feels hard, you can add a sprinkle of water at a time. Knead the dough again until smooth, adding more water as needed. Let rest for another 15 minutes before using.
Step 7: Divide the dough into 12 (40g) equal portions (Image 7). Take a small golf-ball sized portion of dough and roll it into a smooth ball.
Step 8: Flatten each dough ball into a round disc and dip in flour (Image 8).
Roll Out and Cook the Chapatis


Steps 9 – 10: On a lightly floured surface, use a floured rolling pin to roll out the chapatis (Image 9).
When rolling out chapatis, you don’t have to use much force. Start gently and take your time, as you learn how to roll it into a circle. I typically roll the dough out for a few seconds, rotate, and repeat (Image 10).
Steps 11 – 12: Preheat a griddle, cast-iron skillet, or tawa over medium-high heat. Cook each roti on a hot pan over medium to medium-high heat until bubbles begin appearing on the bottom of the surface, about 30 – 45 seconds. Brush the top with a little oil, then flip and cook the other side until nicely browned, 20 -30 seconds (Images 11 – 12)
Make sure to reduce the flame to low heat in between making chapatis (otherwise the pan can get too hot). Repeat with the remaining dough balls.
Phulkas: If you have a gas stove, you can make phulkas, rotis that puff up over a flame. As you cook the chapati on the first side, turn another burner on over medium-low heat. Flip the chapati, cook it for just a few seconds, then transfer with tongs over the direct flame for a few seconds until puffed up.
Ghadichi Poli (Variation):
Ghadichi poli are flaky chapatis with a layer of oil in the dough. If you’re interested in trying my family’s method, I’ve included steps below.

Step 1: Just like regular chapatis, you will want to press down each dough ball into a flat disc. Dip it in flour, then roll it out into a small oval. Pinch the middle, then dab each side with oil (Image 1).
Step 2: Fold the dough over itself and seal the edges into a circle (Image 2). Flatten again to form a circular disc and coat in a bit of flour. Proceed with rolling and cook the poli with the same process as regular chapati.

Chapati Recipe (Indian Flatbread)
Equipment
- Rolling Pin, preferably tapered
Ingredients
- 267 grams atta flour, also called chapati flour or chakki atta
- 192 ml hot water, at room temperature, plus more if needed
- 15 grams neutral oil, such as canola oil or peanut oil | divided
- All-purpose flour, for sprinkling and rolling out the chapatis
- Ghee, melted butter, or neutral oil, for brushing the chapatis
Instructions
Make the Chapati Dough
- In a large bowl, add 267 grams atta flour. Form a well in the center of the flour, and slowly mix in 192 ml hot water and 15 grams neutral oil until a shaggy dough forms.
- Knead for 4 – 5 minutes until the dough is soft and quite smooth. Every so often, press your knuckles all over the dough to soften it while kneading. It should not be sticky or dry. Note: If you find the dough is tough or dry, you can add knead in a teaspoon of water at a time until it comes together. If the dough is sticky, knead in a teaspoon of atta flour at a time.
- Let the dough rest, covered in the bowl, for at least 20 minutes before rolling out. If not using immediately, refrigerate in an airtight container in the fridge for up to 48 hours.
- After resting, the dough should feel quite soft and smooth. To test this, take a small golf-ball sized portion of dough and roll into a ball. If you notice the balls are not soft and smooth (i.e. you see cracks/crevices), you can add a sprinkle of water at a time and knead the dough again until smooth. Let rest for another 15 minutes before using.
Roll Out the Chapatis
- Divide the dough into 12 golf ball-sized portions (about 40g) for smaller chapatis (6 – 7 inches) or 6 portions for larger chapatis (8 – 9 inches).
- Keep the dough balls covered while you roll out the chapatis. Take one ball of dough and press it down to form a thick disc, then dip in all-purpose flour on both sides.
- On a wooden cutting board or work surface, roll out the chapati with a floured rolling pin until it's about 1/16-inch thick, dipping in flour as necessary to keep it from sticking to your work surface. To keep it circular, alternate between rolling the dough out and rotating it 30 degrees every few seconds. The more evenly you roll out the dough, the more likely it will puff up.Note: The chapatis should be quite thin; if you pick them up, they should almost appear translucent.
Cook the Chapatis (Standard Way)
- Set a griddle pan, tawa, or cast-iron skillet over medium-high heat.
- When the pan just begins to smoke, add the chapati and cook for about 30 – 45 seconds until you see brown bubbles begin to form on the underside of the chapati (you can use a spatula or tongs to check).Brush the top (uncooked side) of the chapati with a bit of ghee, melted butter, or oil.Note: If the chapatis are charring too quickly, reduce the heat to medium.
- Flip the chapati, then brush the top side (the now cooked side) with ghee until the bottom cooks.
- Flip the chapati one last time until both sides are nicely browned, about 5-10 seconds.
- Brush the chapati once more with ghee. Wrap any finished chapatis in a kitchen towel to keep warm while you make the remaining rotis.
- Repeat the process of rolling out and cooking each chapati. Note: Reduce the heat to low any time the griddle is empty (otherwise the griddle can get too hot), and increase the heat back to medium-high while cooking each chapati.
Cook the Chapatis (Phulka, Puffed-Up Way)
- Set a griddle pan, tawa, or cast-iron skillet over medium-high heat.
- When the pan just starts to smoke, add the chapati and let cook for about 30 seconds until you see brown bubbles begin to form on the underside of the chapati (you can use a spatula or tongs to check).
- Flip the chapati, then use a clean dish towel or paper towel to gently press down all around the outer edges of the chapati. The chapati should puff up nicely. Alternatively, if you have a gas stove, turn a separate burner on medium-low heat and carefully place the chapati directly on the flame until it puffs up.
- Turn the flame off, then transfer the chapati back to the griddle pan. Flip the chapati one last time until both sides are nicely browned.
Video
Notes
- This recipe was developed using a scale, so if using cup measurements, you may need to adjust here and there to achieve the right texture for the dough.
- Rolling: It takes quite a bit of practice to roll a roti into a perfect circle, so don’t worry! It will still taste great even if it is slightly misshapen. The key is to roll the dough evenly. If the dough is uneven, it won’t puff up. Try to focus on rolling out the edges, as the middle of the dough will naturally thin out.
- Cooking: Cooking the chapatis at an optimal temperature will lead to the best texture. If the heat is too low, they will take longer to cook and dry out. If the heat is too high, they will char or burn without cooking fully in the center. Play around with your stovetop to achieve the best temperature for your rotis.
- Keep Them Warm: Wrap the cooked rotis in a clean kitchen towel and storing in an airtight container before serving to keep them warm.
- Cooked chapatis last for 3-4 days stored in an airtight container in the refrigerator. To reheat them, I put a cold chapati on a plate covered with a damp paper towel and microwave for about 15-20 seconds until warm.
Nutrition
The nutritional information on this website is only an estimate and is provided for convenience and as a courtesy only. The accuracy of the nutritional information for any recipe on this site is not guaranteed.


First time chapati making. Your directions were clear and I had success of a sorts. I only had a thick stainless steel pan and it’s now a lot darker 😂 but I did have atta flour! I had to test one and it was delicious with egg plant pickles. The rest is for dinner with green lentil spinach Dahl. It will be suitable for my pre diabetes diagnosis requirements in place of rice.
Thank you for the trouble you went to to make such a great chapati recipe and video. Top Job. And I will keep practicing the technique.
Hi Linda, so glad you liked the recipe! It definitely takes some time to nail down the technique, and for the pan — certain stainless steel pans can definitely get hot very quickly so maybe you can play around with turning down the heat? Let me know how it goes and if you need any tips on cleaning!
The pairings sounds delicious too!
Just made them., fabulous! It’s the first time I tried to make chapatis. Wish I could ad a photo.
Hi Joan, so happy to hear that! 🙂 Feel free to e-mail me a photo if you’d like at hello@homecookingcollective.com! I love seeing everyone’s creations!
Fantastic
So glad you enjoyed!!
The very best recipe and instructions that I have come across. I have made these chapatis several times now. One cannot stress enough that atta flour is needed for the best results!
Many Thanks
Hi James,
So happy to hear that! Thank you so much for leaving a comment 🙂