Once you discover this easy method for making crispy garlic chips, you’ll never go back! Thinly sliced garlic is submerged in oil and microwaved until golden brown and crispy. It’s a versatile condiment for everything from noodle bowls to salads to dips.
One of my favorite ways to add more garlic flavor to a dish is to fry it up and use it as a crispy topping, like in my black pepper maggi noodles recipe or lemon caper pasta. However, one complaint I often hear from home cooks is that they don’t love the mess (and subsequent clean-up) of deep frying.
I recently discovered an easy microwave method to make fried garlic chips, thanks to Sheldon Simeon’s cookbook, Cook Real Hawai’i. I can’t believe how foolproof it is, and the garlic never comes out soggy or greasy.
Ingredient Notes

Oil: For optimal crunch, I recommend using a neutral oil with a high smoke point, like sunflower, avocado, peanut, or canola oil.
💡 Testing Tip: In testing, I used peanut oil and olive oil. I found that the peanut oil yielded slightly crispier results, but garlic-infused olive oil is absolutely delicious, so both will work!
Garlic Cloves: You’ll need 1 head of garlic or 12 cloves pre-peeled garlic to get started.
For a full list of ingredients and their quantities, please refer to the recipe card.
How to Make Garlic Chips in the Microwave
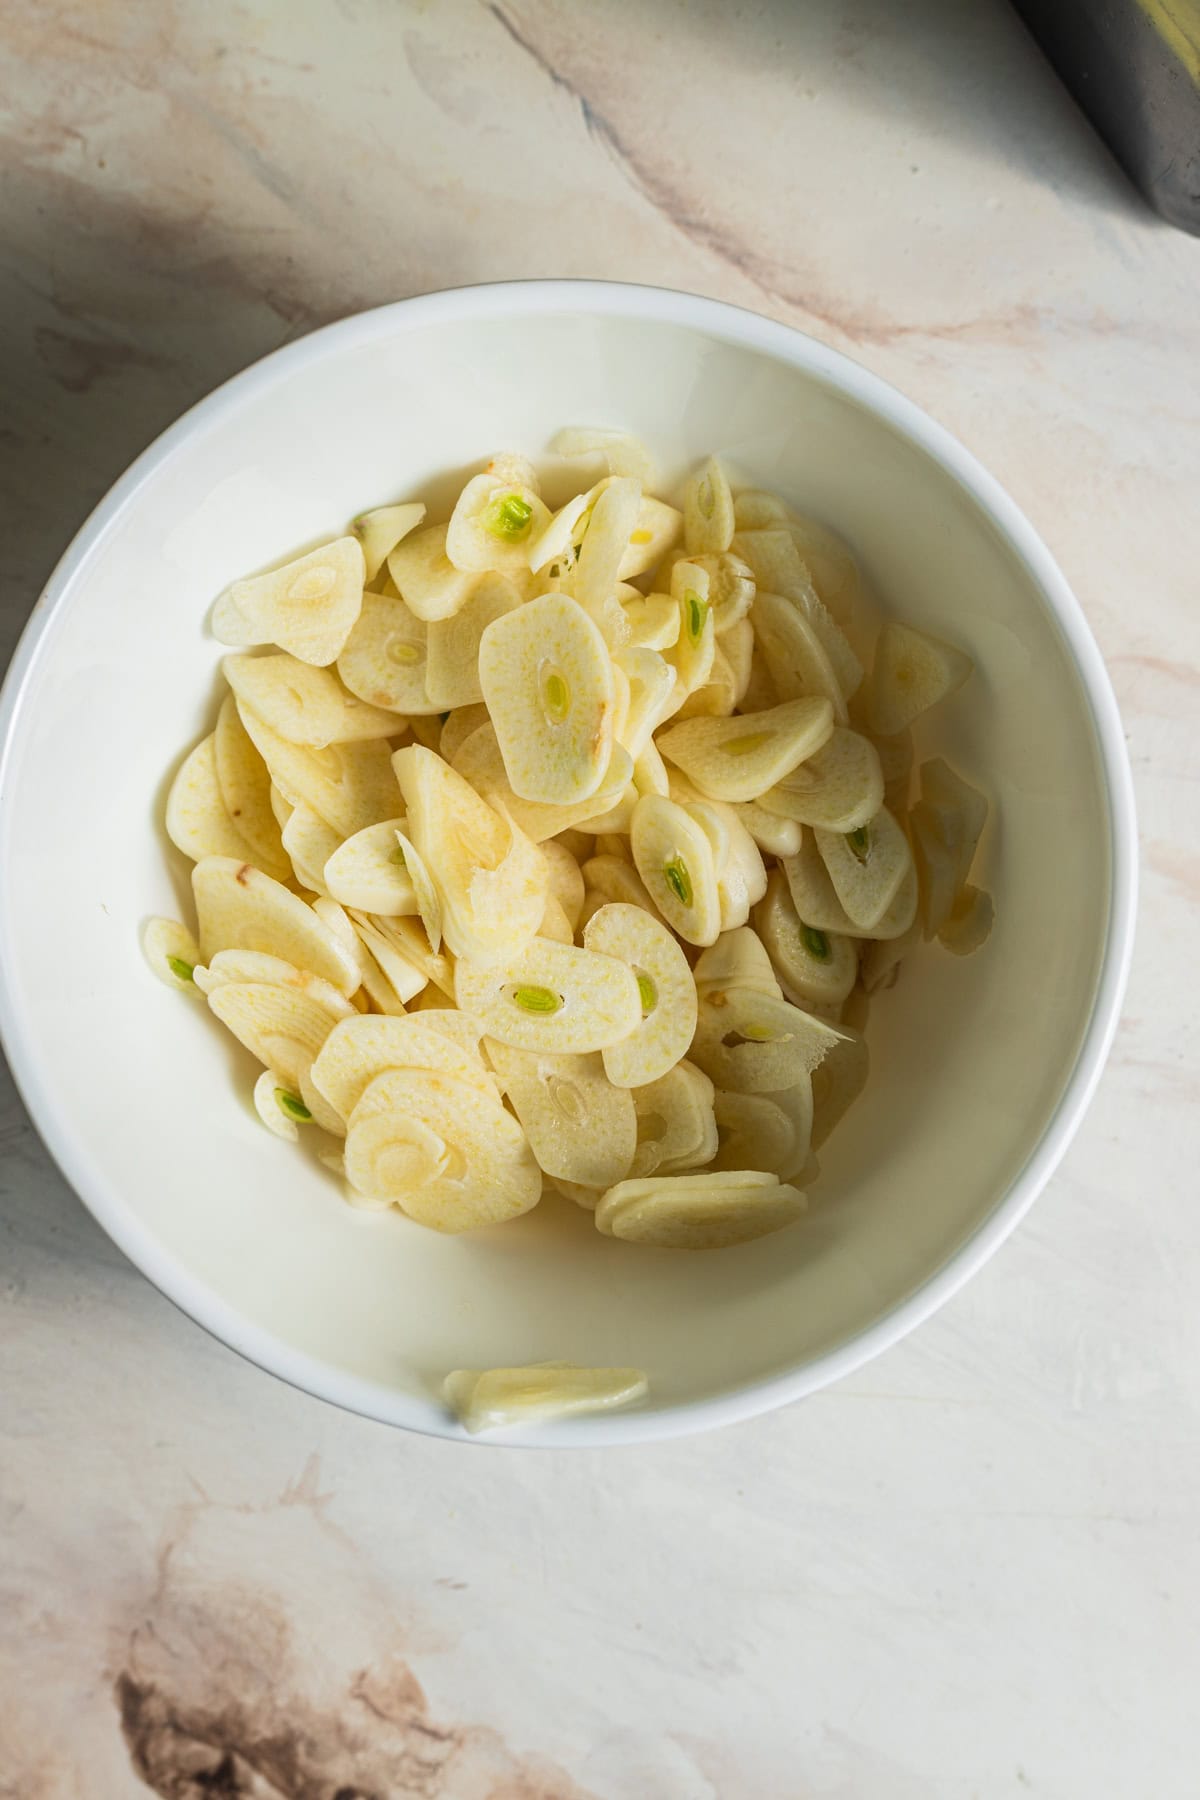
Step 1 – Thinly slice your garlic using a knife or a mandoline. Slice them thin enough to be slightly translucent, about 1/16-inch or thinner.
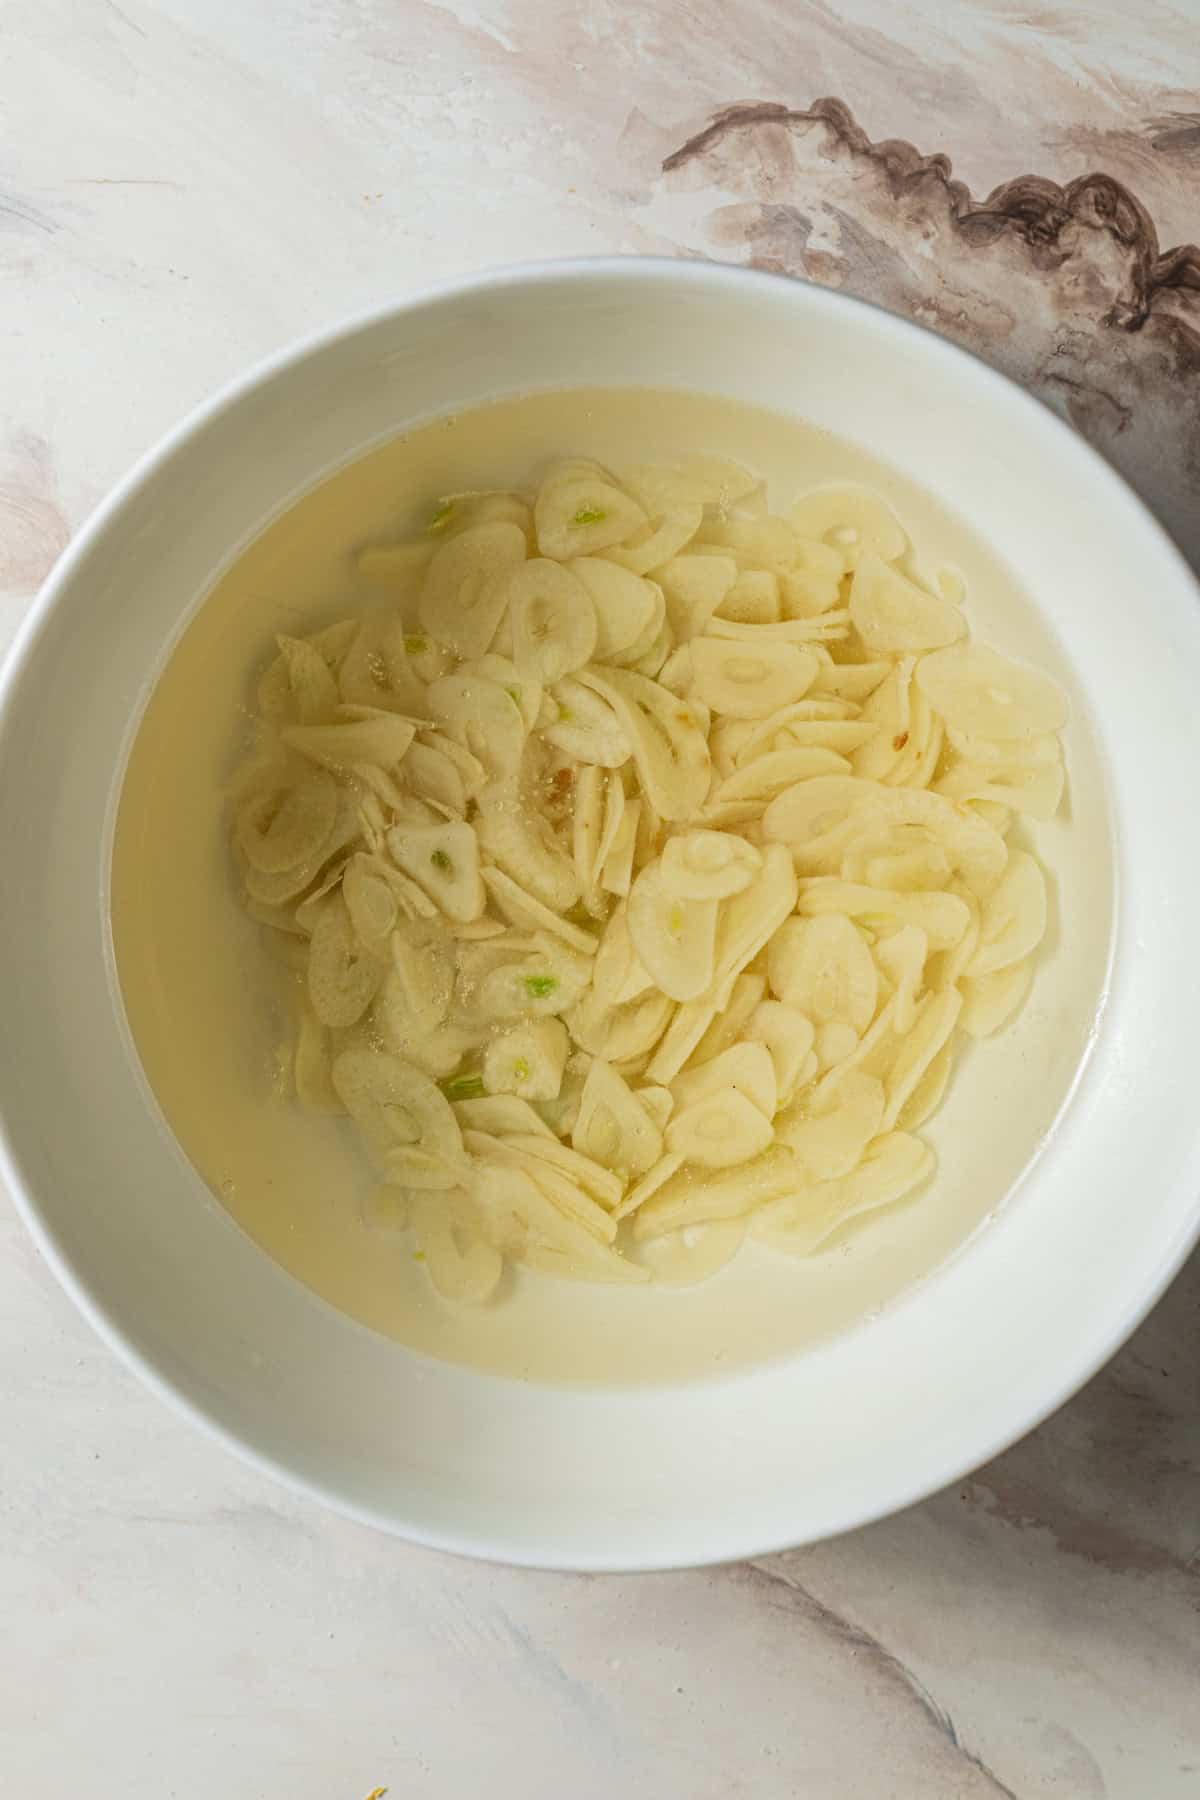
Step 2 – Submerge the garlic slices in oil. You’ll want enough oil so that the garlic can brown evenly.
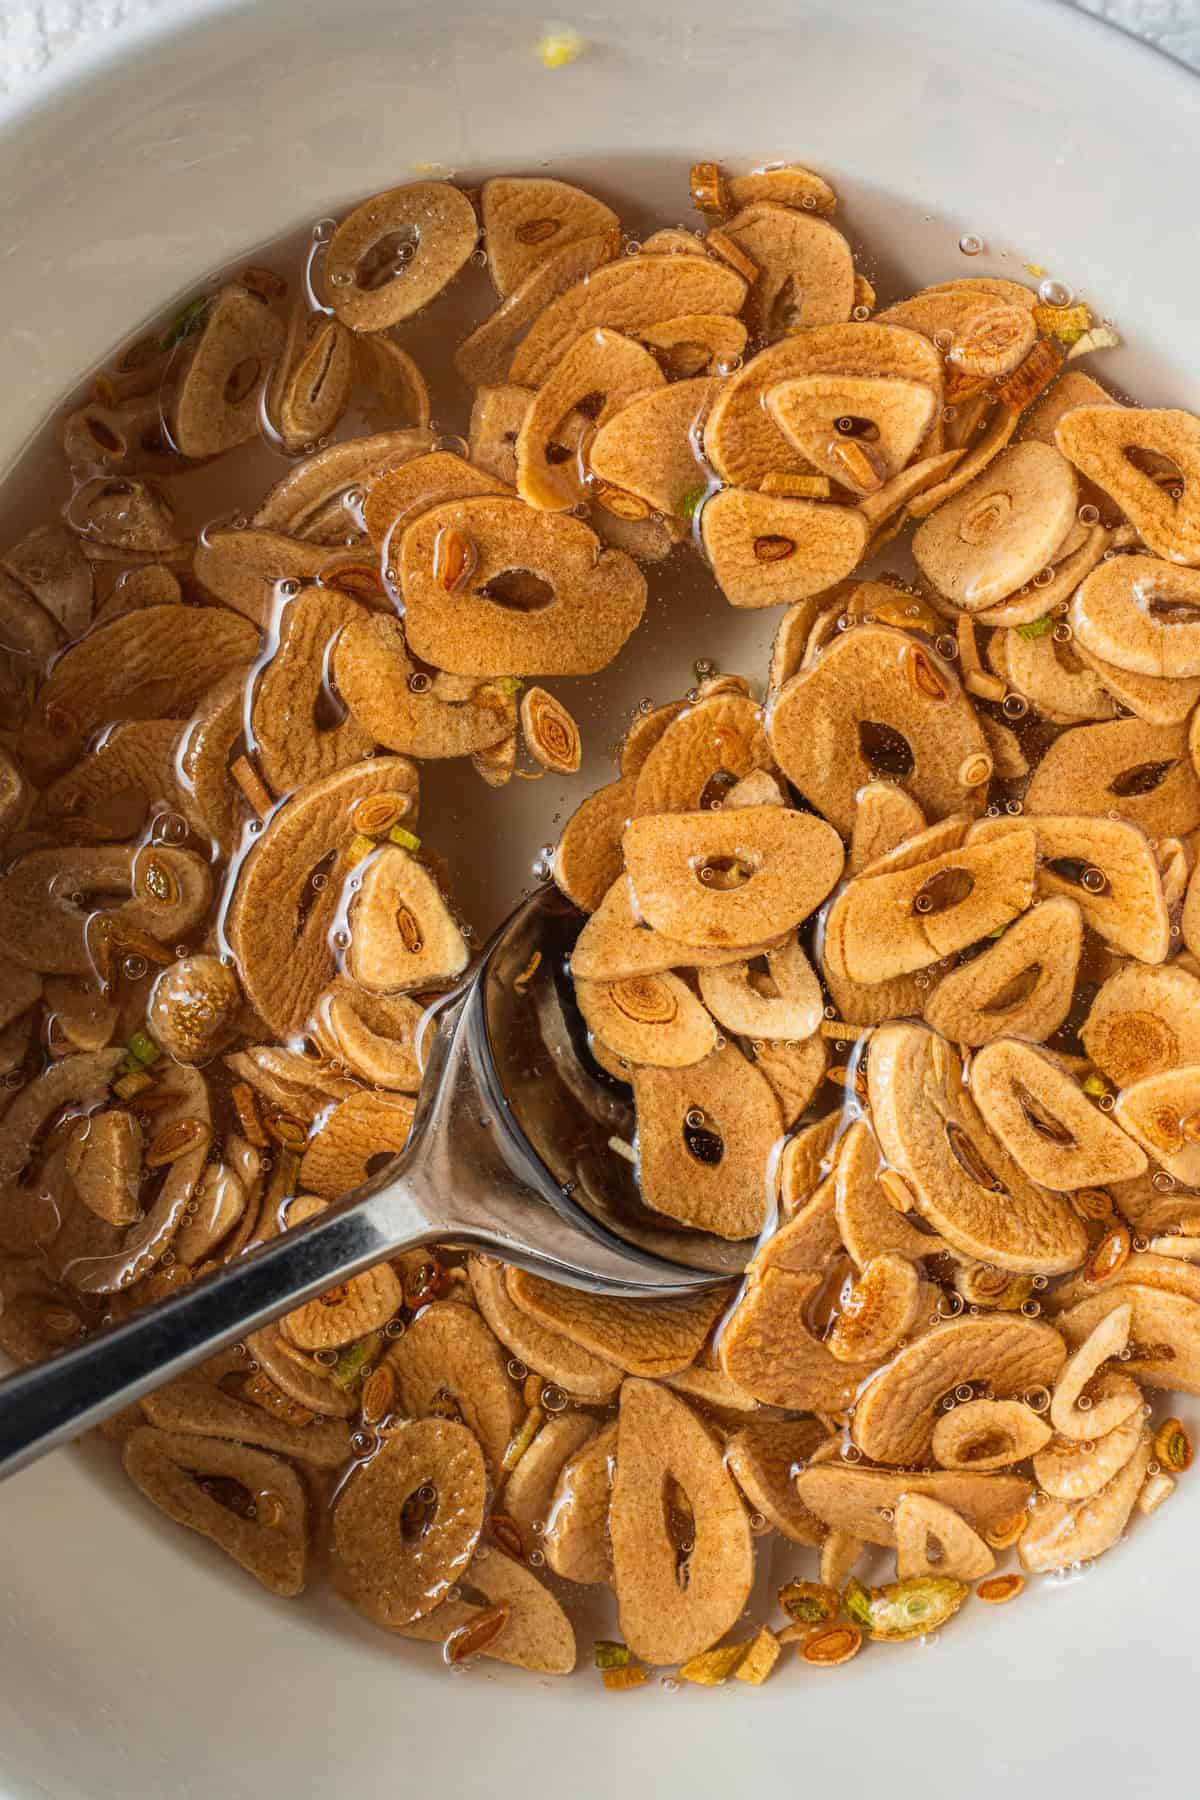
Step 3 – Microwave in 1-minute increments until the garlic has just started to turn color. Then, microwave in 15-second increments until golden brown.
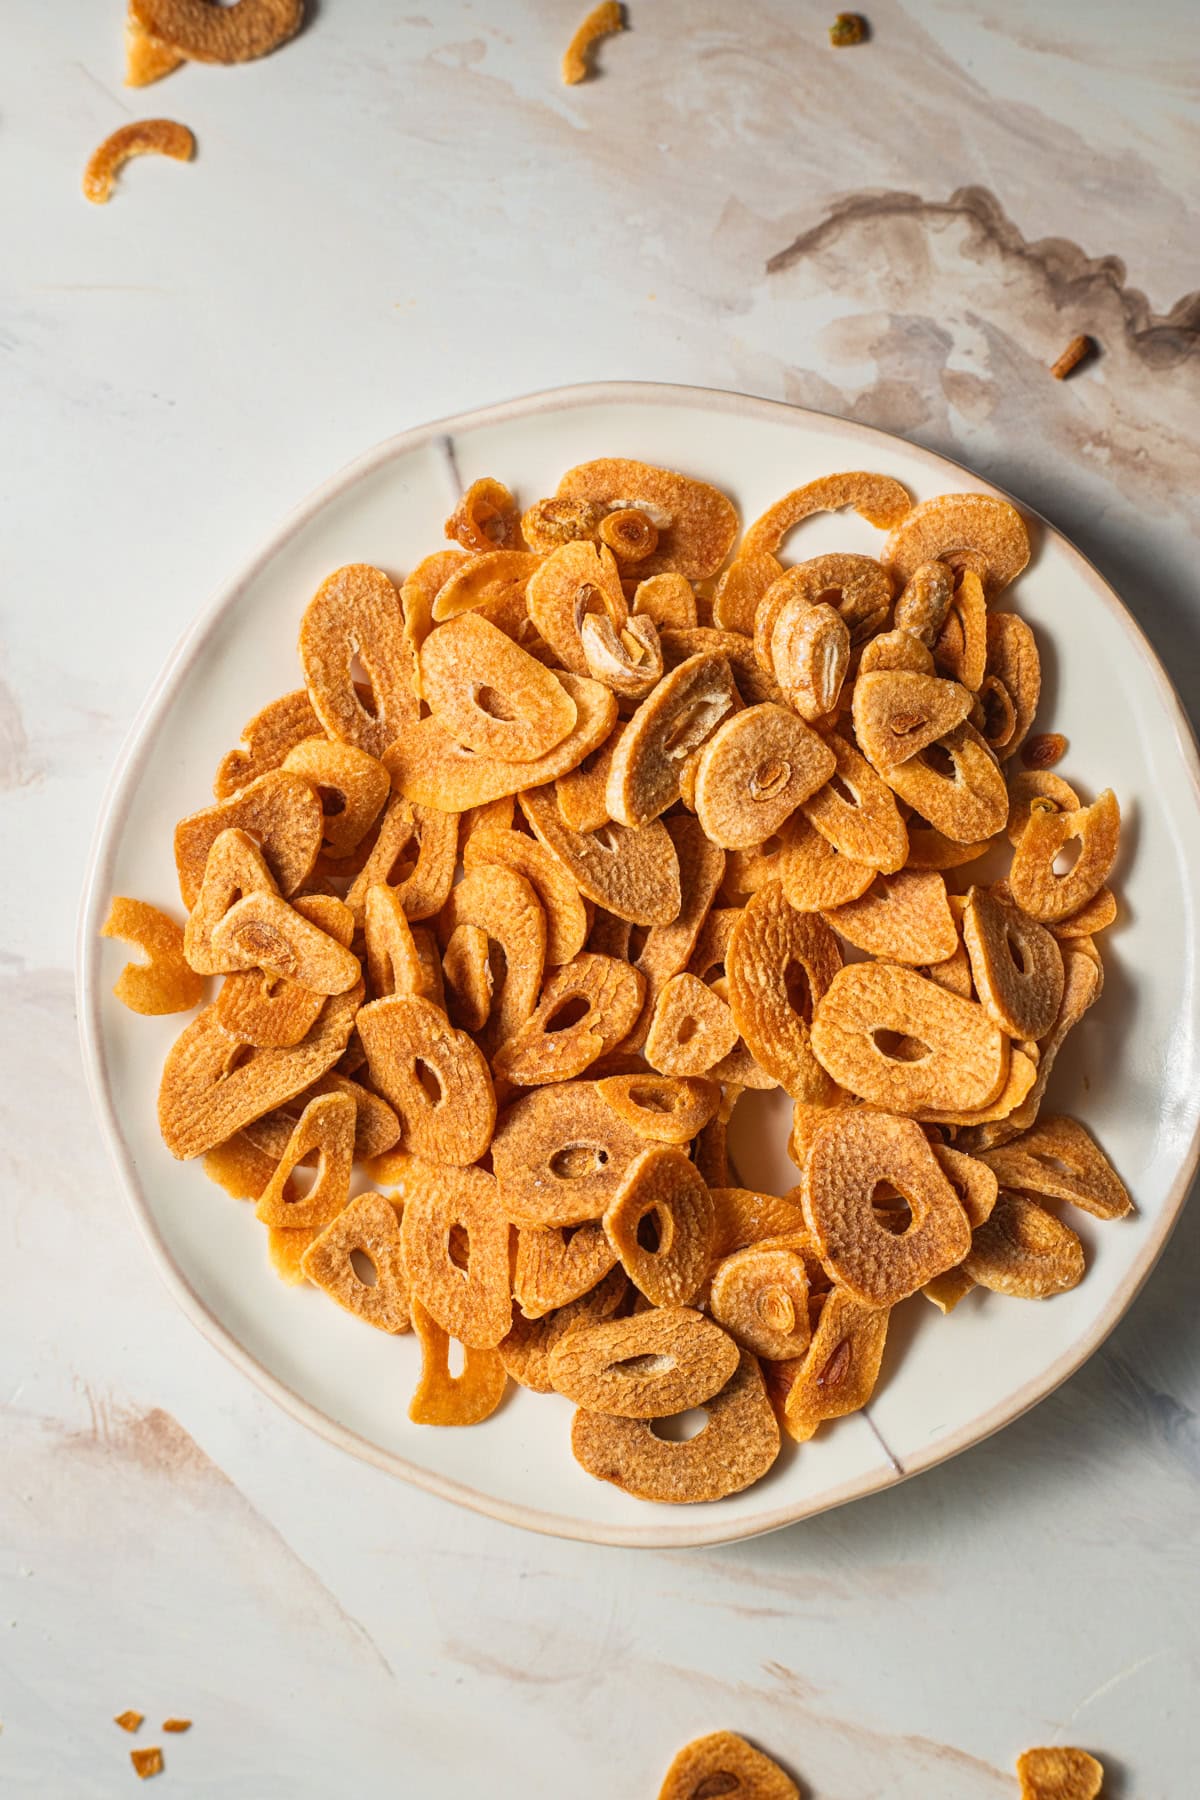
Step 4 – The garlic will keep cooking after removing it from the microwave, so take it out just before it’s done to avoid overcooking!
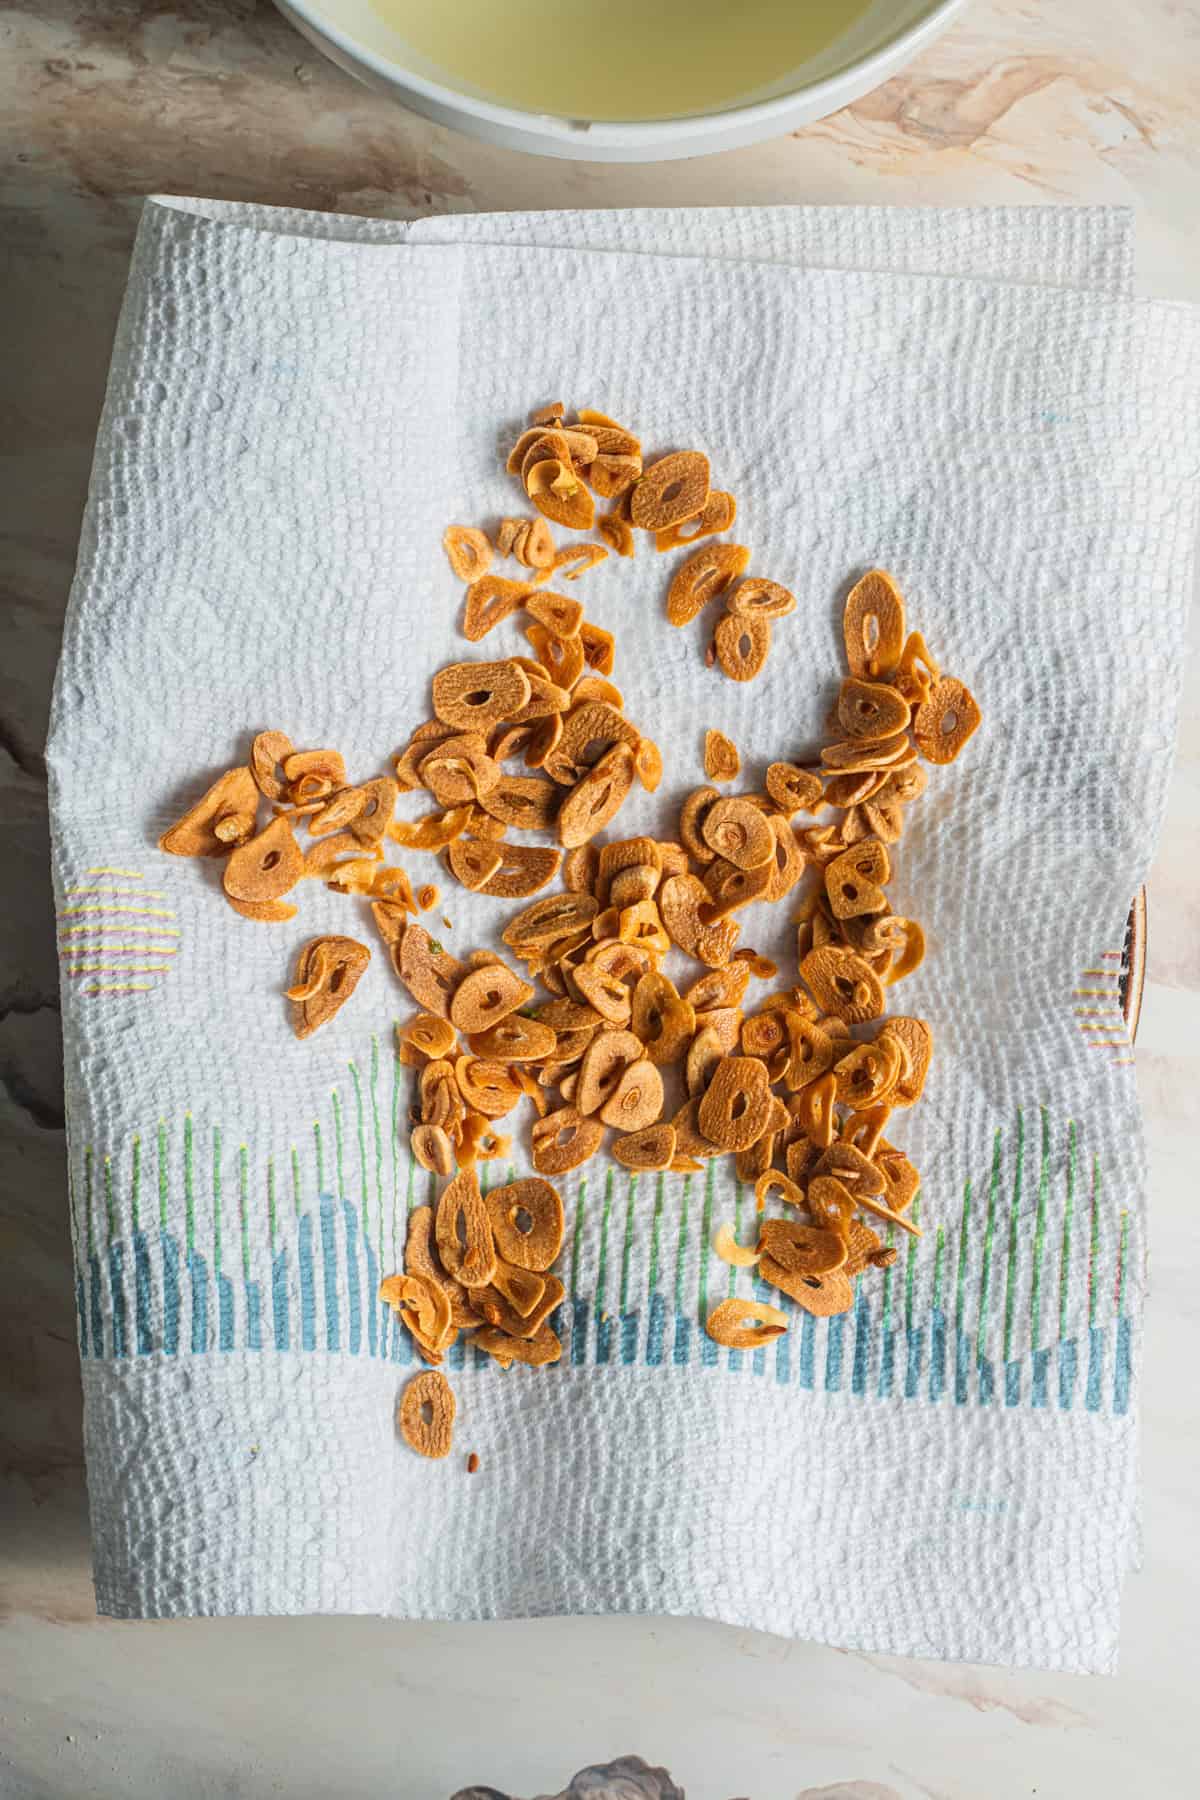
Step 5 – Line a sieve over a mixing bowl and strain the garlic. Transfer the garlic to a paper towel and allow to drain fully before storing in a container.
Expert Tip
Don’t throw out that flavorful garlic oil! The reserved oil can be stored in an airtight container in the fridge for 3 – 5 days; it’s great for salad dressing, sauteed veggies, or pastas. Do not store at room temperature to reduce risk of botulism.
For even more fun, flavor your garlic chips with a bit of salt and sugar like Sheldon does, or go crazy and experiment with your favorite spices like red chili flakes, furikake, or togarashi. Add the seasoning right after straining the garlic (while it’s still hot)!
Serving Suggestions
- Top your favorite noodle bowls or pasta recipes, like my creamy and light fettuccine alfredo or spicy gochujang pasta.
- Garnish dips for a little extra pizzazz, from whipped ricotta to sour cream and chive dip to Greek yogurt ranch.
- Mixed into salads, these garlic chips offer a crunchy, crisp texture! Try it with my garlicky kale Caesar salad or roasted beet salad.
Food-Safe Silica Gel Keeps These Fresh For Longer
For maximum freshness, store garlic chips in an airtight container with food-safe silica gel packets, a tip I got from Just One Cookbook! They will last about 3 – 4 weeks stored in a cool, dry place. No silica packets? Expect them to last for up to 2 weeks.
For best results, make sure they’re truly dry before storing! Moisture is the enemy here.
Recipe FAQs

Paper-thin slices will yield the lightest, crispiest texture around 1mm thick. A thicker, 1/16-inch cut, will result in more of a crunchy, “chip-like” texture. Don’t go any thicker than that!
Absolutely! Add the garlic and oil to a small skillet and set over medium-low heat. Once the garlic begins to gently sizzle, stir frequently until light golden brown. Immediately remove from the heat and follow the straining instructions in the recipe.
If you overcook the garlic chips, they’ll taste bitter! The garlic will continue to cook even off the heat, so make sure to take it out just before it’s done.
Did you try this recipe?
I would love to hear your feedback! Be sure to rate the recipe and leave a comment below.
Want to see more of my content? Add me as a trusted google source.


Microwave Garlic Chips Recipe
Ingredients
- 1 head garlic, or 12 pre-peeled garlic cloves*
- ⅔ cup neutral oil
Instructions
- Set up: Place a fine mesh-sieve over a medium bowl. Line a large plate with a paper towel and set aside.
- Prep the garlic: Break 1 head garlic into individual cloves, and peel each clove. Trim off the root end of each clove, and thinly slice into 1/16-inch (or thinner) slices using a sharp knife or a mandoline.
- Microwave: Place the garlic in a medium bowl with ⅔ cup neutral oil (or more if needed to fully submerge the cloves). Microwave in 1-minute increments, stirring in between, until the garlic is just beginning to take on color.Then, microwave in 15-second bursts, stirring as needed, until the garlic is evenly golden brown.Note: The garlic will continue to take on color even after removing it from the microwave, so make sure to take it out just before it's perfectly golden brown.
- Strain: Immediately pour the mixture through the sieve to separate the garlic and oil. Transfer the garlic chips to the paper towel-lined plate to cool and crisp.
- Storage: Once fully dry, use immediately or store garlic chips in an airtight container at room temperature for up to 2 weeks. For longer storage, add a food-safe silica gel packet to the container, and store for 3 – 4 weeks. Transfer garlic oil to a clean, airtight container or jar and store in the fridge for 3 – 5 days.
Notes
Nutrition
The nutritional information on this website is only an estimate and is provided for convenience and as a courtesy only. The accuracy of the nutritional information for any recipe on this site is not guaranteed.


Owner’s Review: I’ve been making fried garlic for many years, and I love how easy this microwave version is! It can also be easily scaled up and down; as long as your garlic is submerged in oil, it will turn golden and crispy.