
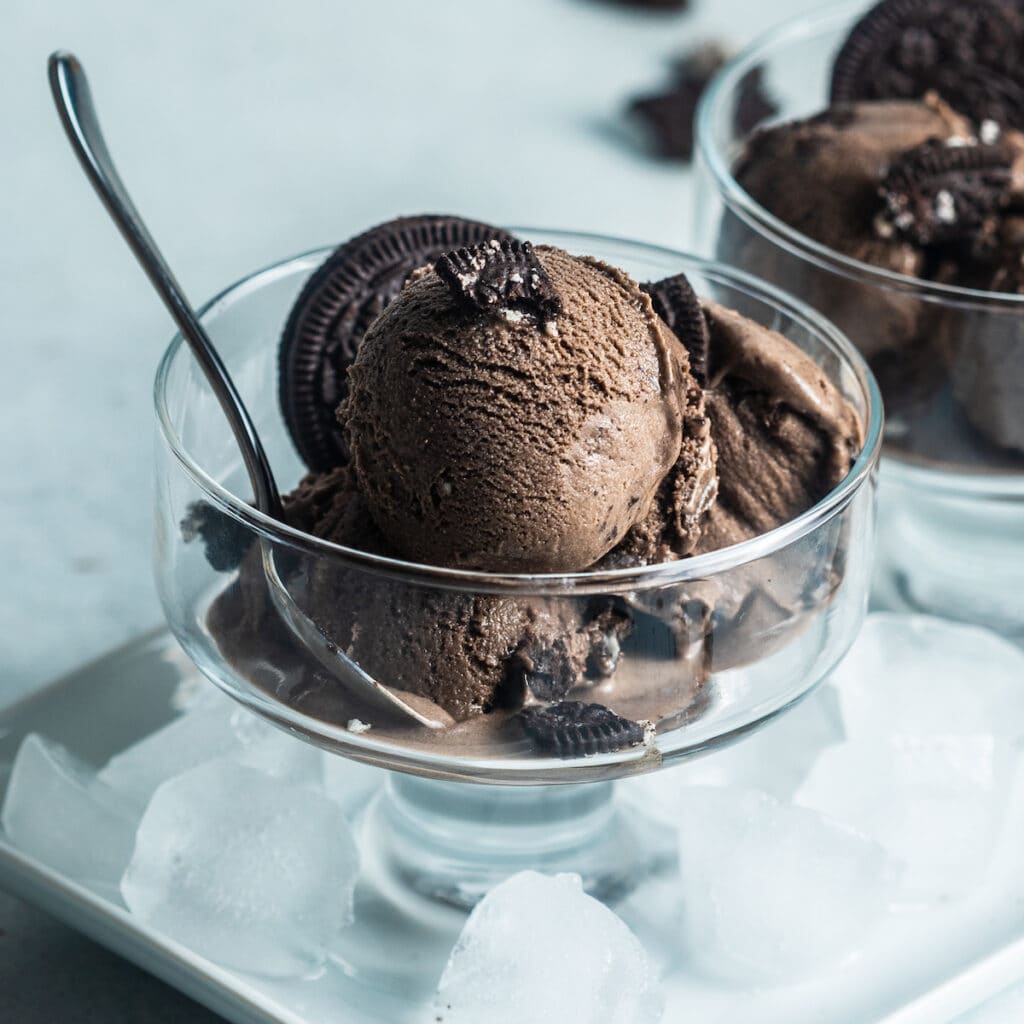
This is the best homemade Oreo ice cream recipe! Crushed Oreo cookies steep in custard, then the batter is churned until thick with more crushed cookies. Adapted from Stella Parks, the resulting ice cream is rich, decadent, and full of Oreo flavor.

I’m so excited to share this recipe with you! I’ve been making it for years, and it’s always a hit at parties. This isn’t your standard cookies and cream dessert! Every single bite tastes like an Oreo.
Looking for more sweet treats? Try my mousse au chocolat, mini basque cheesecake, blueberry clafoutis or brioche cinnamon rolls!
👩🏽🍳 Cook’s Notes
- A high ratio of egg yolks and Oreo crumbs creates a rich flavor and creamy texture that lasts days in the freezer without getting icy.
- Steeping Oreo crumbs in the custard base yields an intensely flavored cookie base.
- Stella’s technique forgoes the popular but tricky method of tempering egg yolks; instead, you mix all the custard ingredients in a pot and slowly heat it until thickened. Read more on why the traditional method of tempering eggs is unnecessary.
Ingredient Notes

- Half-and-Half: Half-and-half keeps the texture creamy without being too rich. You can also use 50% cream and 50% whole milk if that’s what you have.
- Eggs: With a higher fat content, seven egg yolks produce the perfect texture. I don’t recommend reducing the amount of eggs here, or you’ll have an icier product.
- Espresso Powder: I add a touch of espresso powder to bring out the chocolaty flavors of the Oreos. You can omit this if you don’t have it!
For the full list of ingredients and quantities, check out the recipe card.
How to Make This Recipe
Prepare the Custard:

Step 1 – Make the Oreo Crumbs: In a food processor, pulse the Oreo cookies into fine crumbs (Image 1). You can also do this by hand by crushing up the Oreos in an airtight plastic bag with a rolling pin.
Steps 2 – 4 – Heat the Custard: In a large sauce pot, add the sugar, eggs, salt, crushed Oreos, and half-and-half (Images 2 & 3). Mix until smooth, ensuring there are no remaining clumps of egg.
Heat the custard over medium-low heat until it’s warm to the touch. Increase to medium heat, then stir frequently with a flexible spatula just until the egg mixture begins to steam. If you have a thermometer, you’re looking for a temperature of 155°F (68°C) (Image 4).

Step 5 – Strain: Remove the custard from the heat and pour through a fine-mesh sieve set over a heatproof mixing bowl. Use your spatula to press any remaining liquid through the sieve (Image 5).
Step 6 – Chill: Stir in the vanilla extract, then cool mixture to room temperature. Cover with plastic wrap and chill for at least 4 hours in the fridge (up to 1 week in the fridge) until the temperature is no warmer than 40°F (4°C).
TIP: If you want to chill the ice cream base faster, submerge the mixing bowl in a large bowl filled with ice water.
Churn:
Just before churning, place your flexible spatula and ice cream container in the freezer.

Steps 7 – 8 – Churn: Churn to a soft-serve consistency, adding the chopped chunks of Oreos just before it finishes churning (Images 6 & 7).

Use your spatula to transfer the mixture to the container. Cover and seal the container, then freeze until firm, about 4 – 6 hours.
Remove from the freezer, scoop, and serve (Images 8 & 9). For an extra delight, top with hot fudge sauce and serve in a waffle cone. Enjoy!
Tips and Tricks
- Use the right equipment. A scale is highly recommended for the most accurate results. An IR thermometer helps ensure you cook the custard to the right temperature. A flexible spatula ensures easy transfer at every step, from heating the custard to churning.
- Don’t overcook your custard. If the milk mixture overcooks, it can thicken significantly, yielding a very dense consistency — or worse, it can curdle and scramble. Take it off the heat once you see any steaming.
- Chill everything. If you have an ice cream machine with a freezer bowl, ensure it’s completely frozen (at least 24 hours minimum, but ideally 2 – 3 days). And just before churning, put your container and spatula in the freezer so the mixture stays as cold as possible.
Recipe FAQs
Unfortunately, no. This is a custard-style ice cream, so it requires an ice cream maker. I currently use the Cuisinart ICE-100, which I love because it comes with a compressor, so I don’t have to freeze a freezer bowl. However, if you’re just starting, you can purchase a very affordable machine that will do an excellent job. The Cuisinart ICE-21 is a great starter option.
This usually happens if you overcook the custard. Next time, make sure to remove the custard from the heat as soon as you see steaming — it happens very quickly!
Yes! I saw a great tip from KAF about this. If your custard is scrambled, remove it from the heat as quickly as possible, then blend it until smooth and push it through the sieve. It may not be as creamy, but it should still taste great.
Yes, it’s totally normal! I recommend giving it a stir before churning, and it should be good to go.
Did you try this recipe?
I would love to hear your feedback! Be sure to rate the recipe and leave a comment below.
Want to see more of my content? Add me as a trusted google source.

Oreo Ice Cream Recipe
Equipment
- Scale, highly recommended
- Instant Read Thermometer, optional, but recommended
Ingredients
For the ice cream base:
- 191 grams Oreo cookies, about 16 oreos
- 113 grams granulated sugar
- 120 grams egg yolks, from about 7 large eggs
- 1 teaspoon Diamond Crystal Kosher Salt, use half the amount if using any other type of salt, such as Morton's or Sea Salt
- ½ teaspoon espresso powder, optional
- 20 ounces half-and-half
- 1 ½ teaspoons vanilla extract
For churning:
- 83 grams roughly chopped Oreo cookies, about 7 Oreos
Instructions
- Freeze your freezer bowl: If using an ice cream maker with a freezer bowl, make sure it's been frozen for at least 24 hours before making this ice cream.
- Make the Oreo crumbs: In a food processor, pulse 191 grams Oreo cookies (with their filling) until finely ground, like the consistency of wet sand. Note: You can also do this by hand by crushing up the oreos in an airtight ziploc bag with a rolling pin.
- Prep your station: Set a fine-mesh sieve over a large heatproof mixing bowl. Note: If you want to chill the ice cream faster, you can place the mixing bowl atop a large bowl of ice water.
- Make the custard: In a 3-quart sauce pot, mix the cookie crumbs, 113 grams granulated sugar, 120 grams egg yolks, 1 teaspoon Diamond Crystal Kosher Salt, ½ teaspoon espresso powder (if using), and 20 ounces half-and-half until combined. Heat the custard over medium-low heat until warm to the touch, about 3 – 4 minutes. Increase the heat to medium, then stir frequently with a flexible spatula just until the custard begins to steam, about 4 – 6 minutes. If you have a thermometer, you’re looking for a temperature of 155°F (68°C).Note: Make sure to stir constantly with your spatula, scraping up the sides and bottom of the pot to prevent the eggs from curdling.
- Chill the custard: Immediately remove the custard from the heat and pour into the fine-mesh sieve. Use your spatula to press any remaining liquid through the sieve. Stir in 1 ½ teaspoons vanilla extract.Allow the custard base to cool to room temperature, then cover with plastic wrap and chill for at least 4 hours in the fridge (up to 1 week in the fridge) until the temperature is no warmer than 40°F (4°C).Note: I typically allow the custard to chill overnight. This ensures it's nice and cold, and it helps marinate the flavor!
- Churn: To minimize ice crystal formation, cut out a piece of wax paper or parchment paper the circumference (or area) of your ice cream container. Place your flexible spatula and ice cream container in the freezer.Remove the custard from the fridge and give it a stir to ensure it's smooth and homogeneous. At this point, taste your ice cream. Note that it will taste less sweet when fully frozen, but if you find it too sweet, you can add up to ¼ teaspoon additional Diamond-Crystal Kosher Salt (or ⅛ teaspoon of any other salt).Churn your ice cream according to the machine instructions, adding 83 grams roughly chopped Oreo cookies about 2 – 3 minutes before it finishes churning. The ice cream is done once it reaches the consistency of soft-serve, and the mixer paddle will have slowed down significantly. Transfer the ice cream to the container with the spatula, then press the paper gently on top of the ice cream. Seal the ice cream container, then freeze until firm, about 4 – 6 hours.
- Serving and Storage Instructions: Because this ice cream is quite rich and creamy, you shouldn't need to to thaw it for more than a few minutes at room temperature before it's scoopable. When serving the ice cream, make sure to put it back in the freezer ASAP to prevent it from thawing too much.Ice cream stored in an airtight container in the freezer will last about 1 – 2 weeks before the flavor and texture starts to significantly deteriorate.
Video

Notes
Nutrition
The nutritional information on this website is only an estimate and is provided for convenience and as a courtesy only. The accuracy of the nutritional information for any recipe on this site is not guaranteed.


I absolutely love this recipe! After trying it, every other Oreo ice cream feels like an imposter. You have truly captured the essence of Oreo flavor in a way I’ve never experienced before. I’ve already made it multiple times and I’ll definitely be making it again!